Standard log in
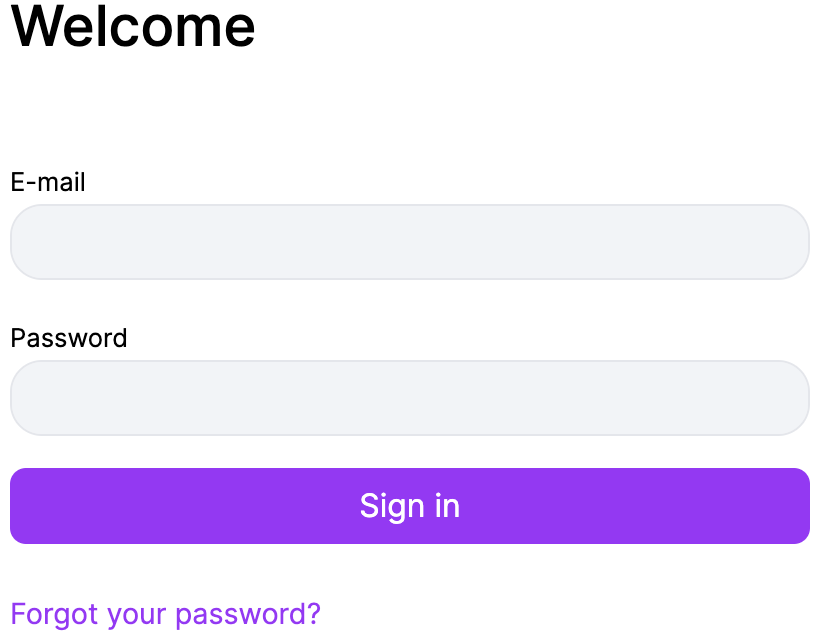
- Visit the login page https://ship.venipak.com/login.
- Enter your log-in email.
- Create a password.
- Click “Sign in” to access your account.
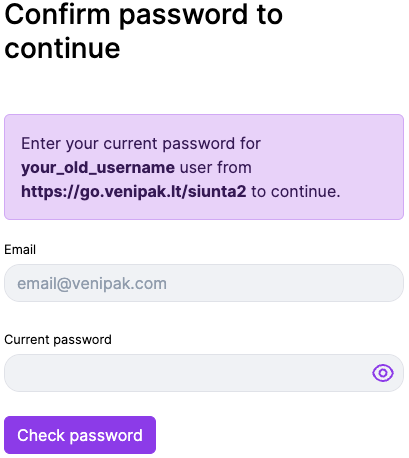
Client has got an invitation email to log in
- Visit the login page https://ship.venipak.com/login.
- Enter your log-in email.
- Use your existing password from the previous system. Please ensure it matches the one used previously.
- Click “Sign in” to access your account.
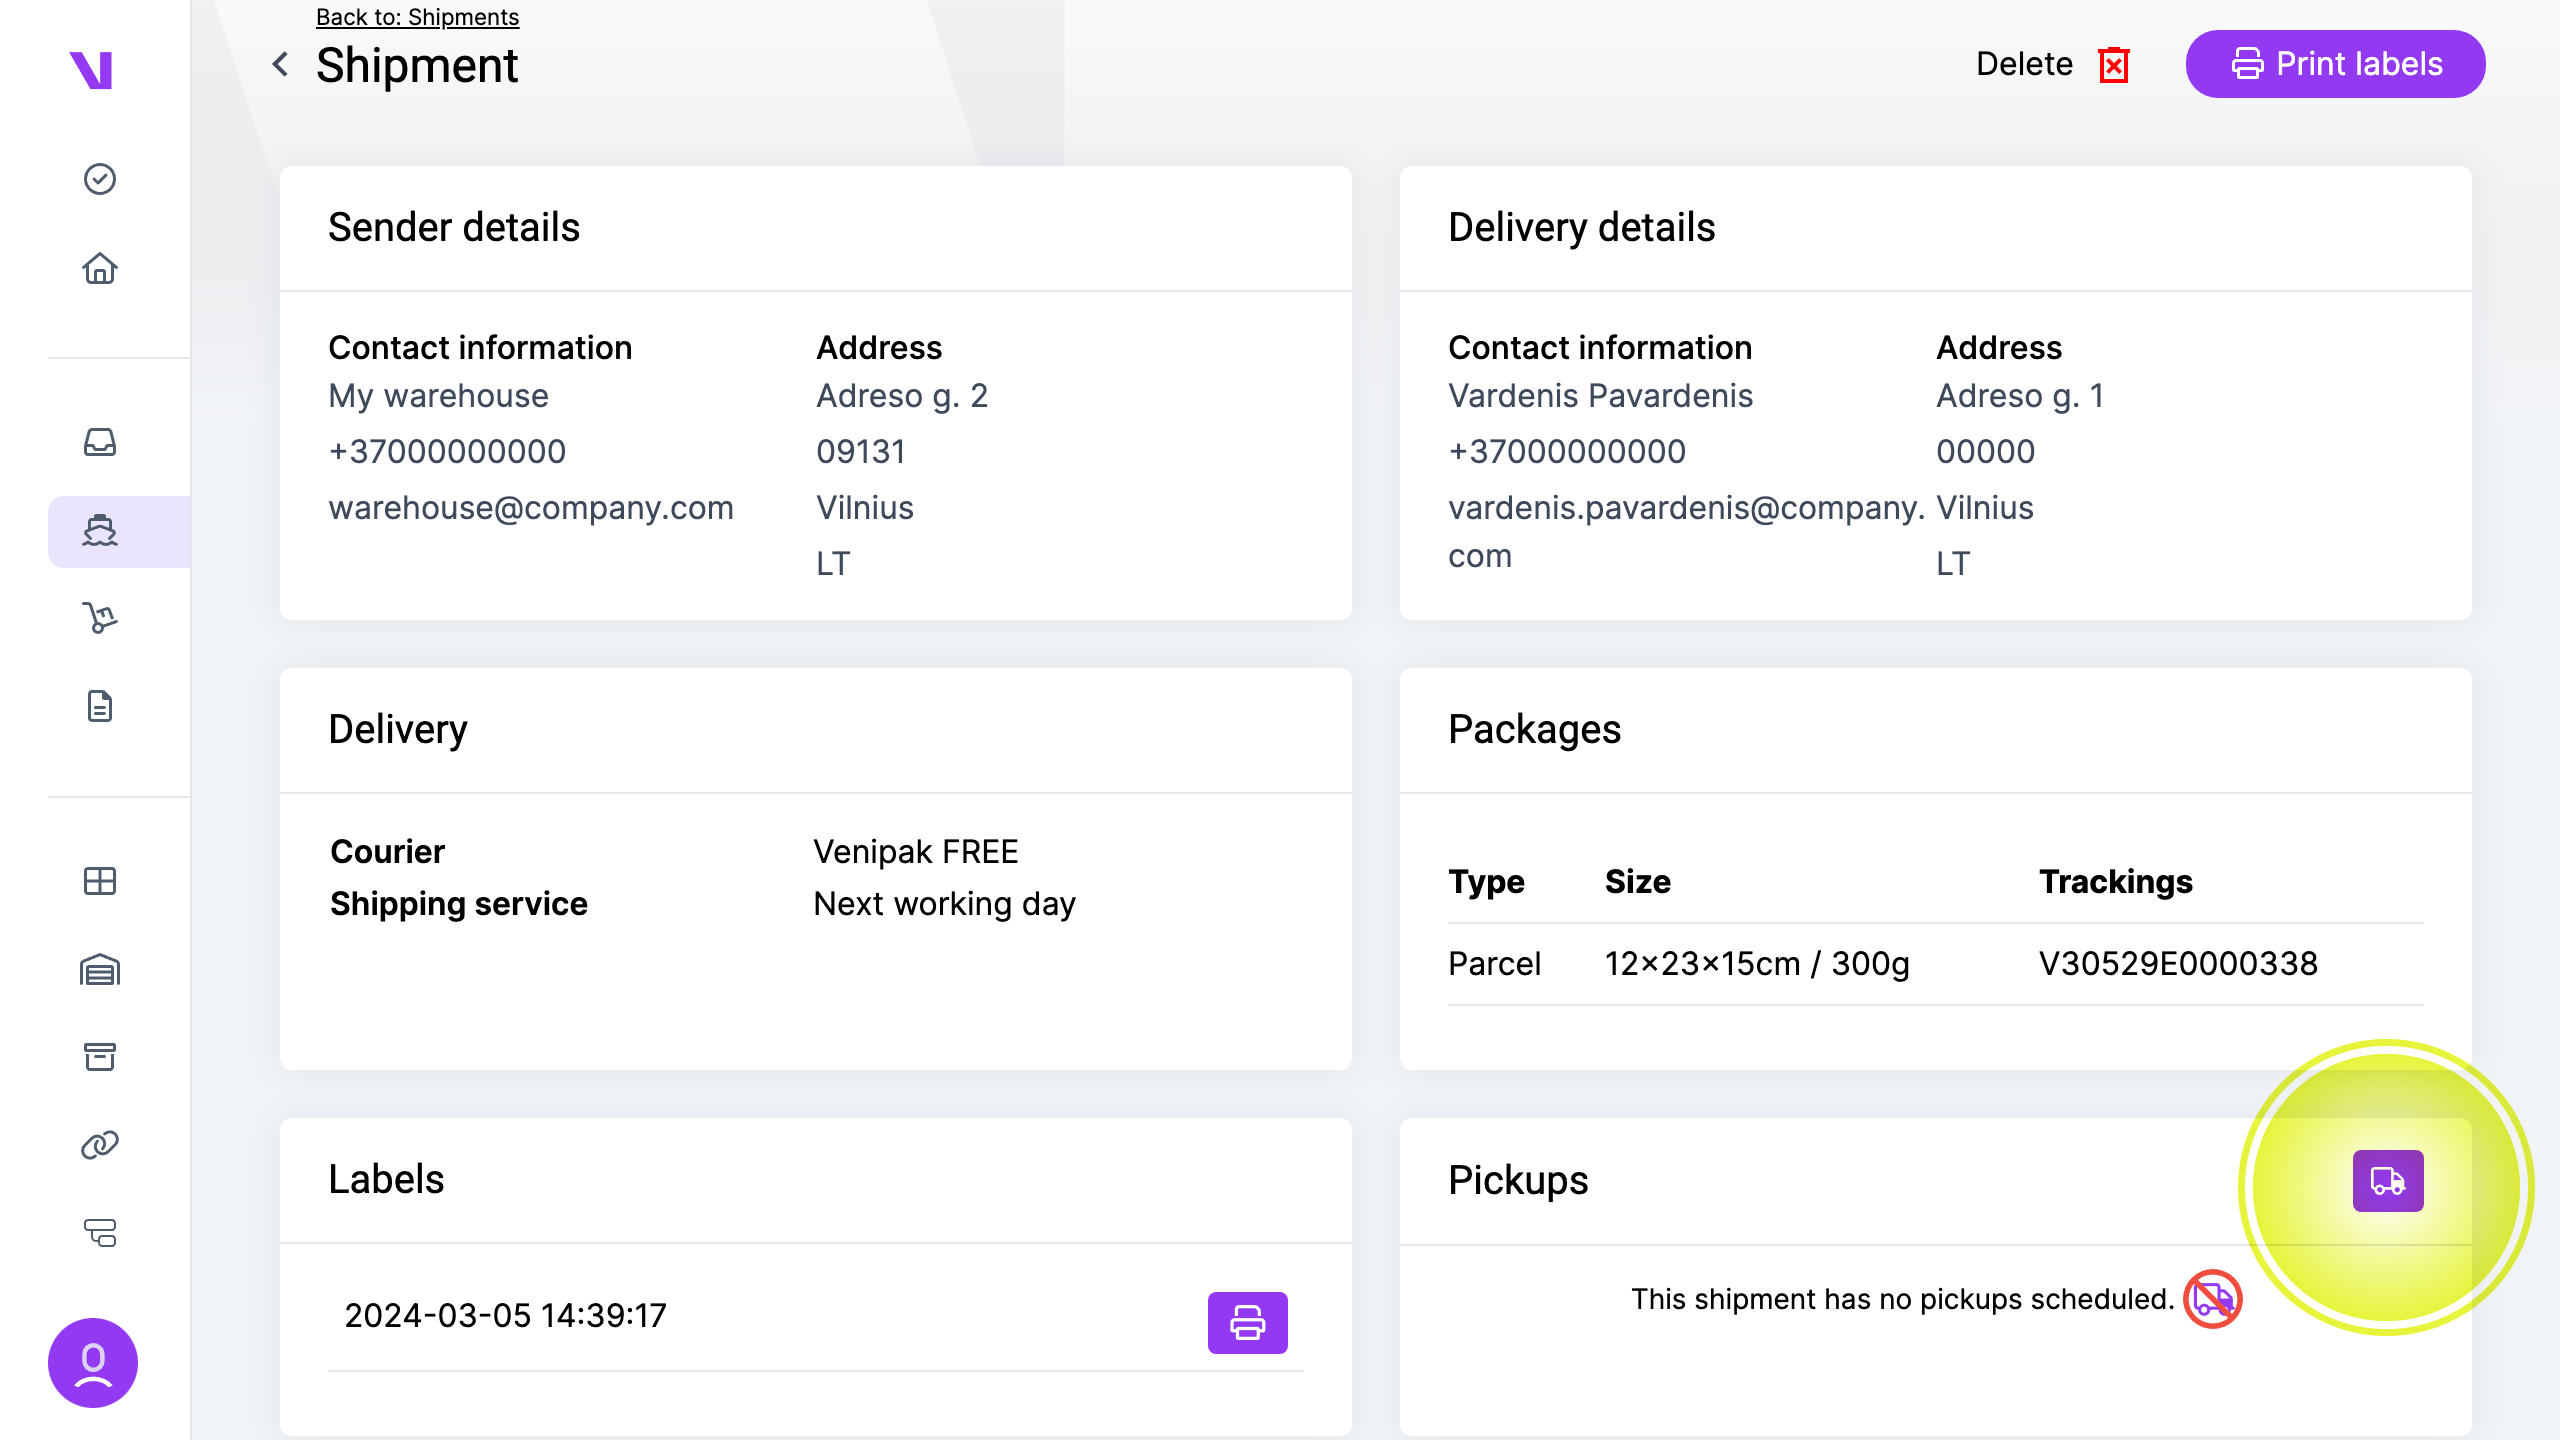
Initiating a courier pickup call is a crucial step in dispatching shipments efficiently.
You can initiate a courier pickup call in two ways:
a) For a single shipment:
- Navigate to the shipment details.
- Locate the “Courier Pickup” section and click the truck icon.
- Enter any additional information required.
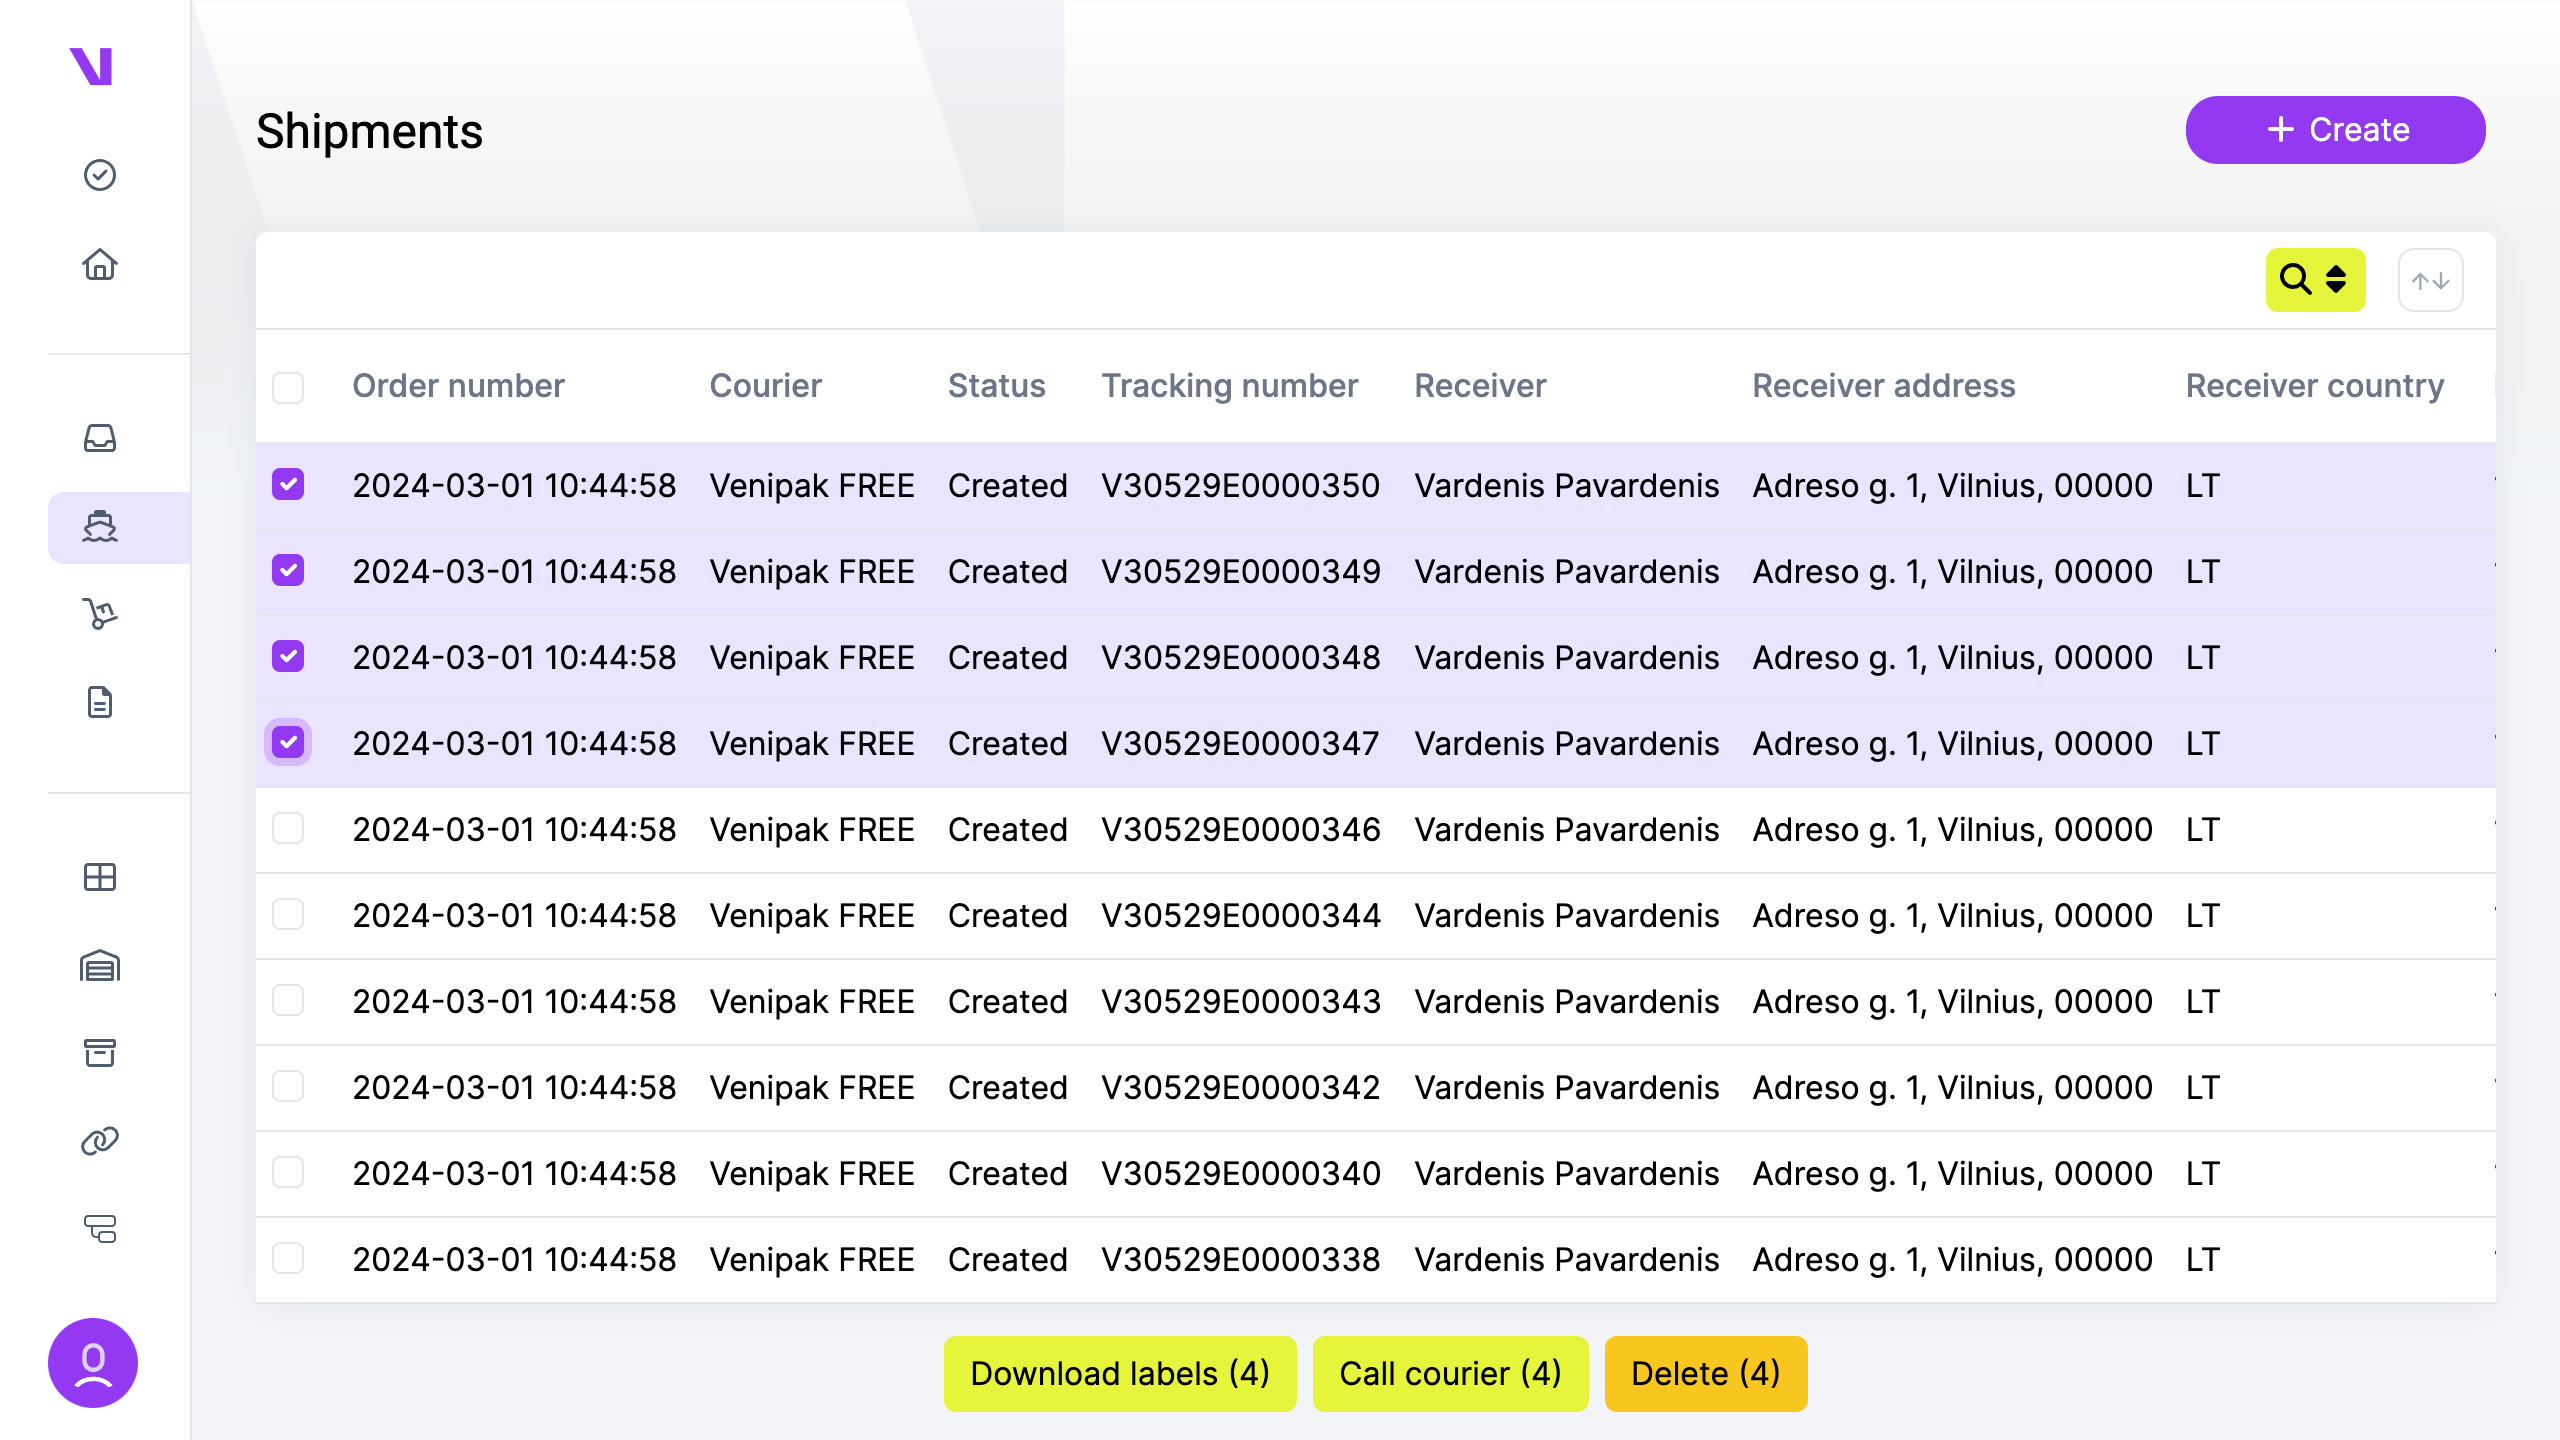
 b) For multiple shipments:
- Navigate to the “Shipments” page.
- Select one or more shipments.
- From the additional actions menu, choose “Call courier.”
- You will be redirected to a new page. Enter any necessary details.
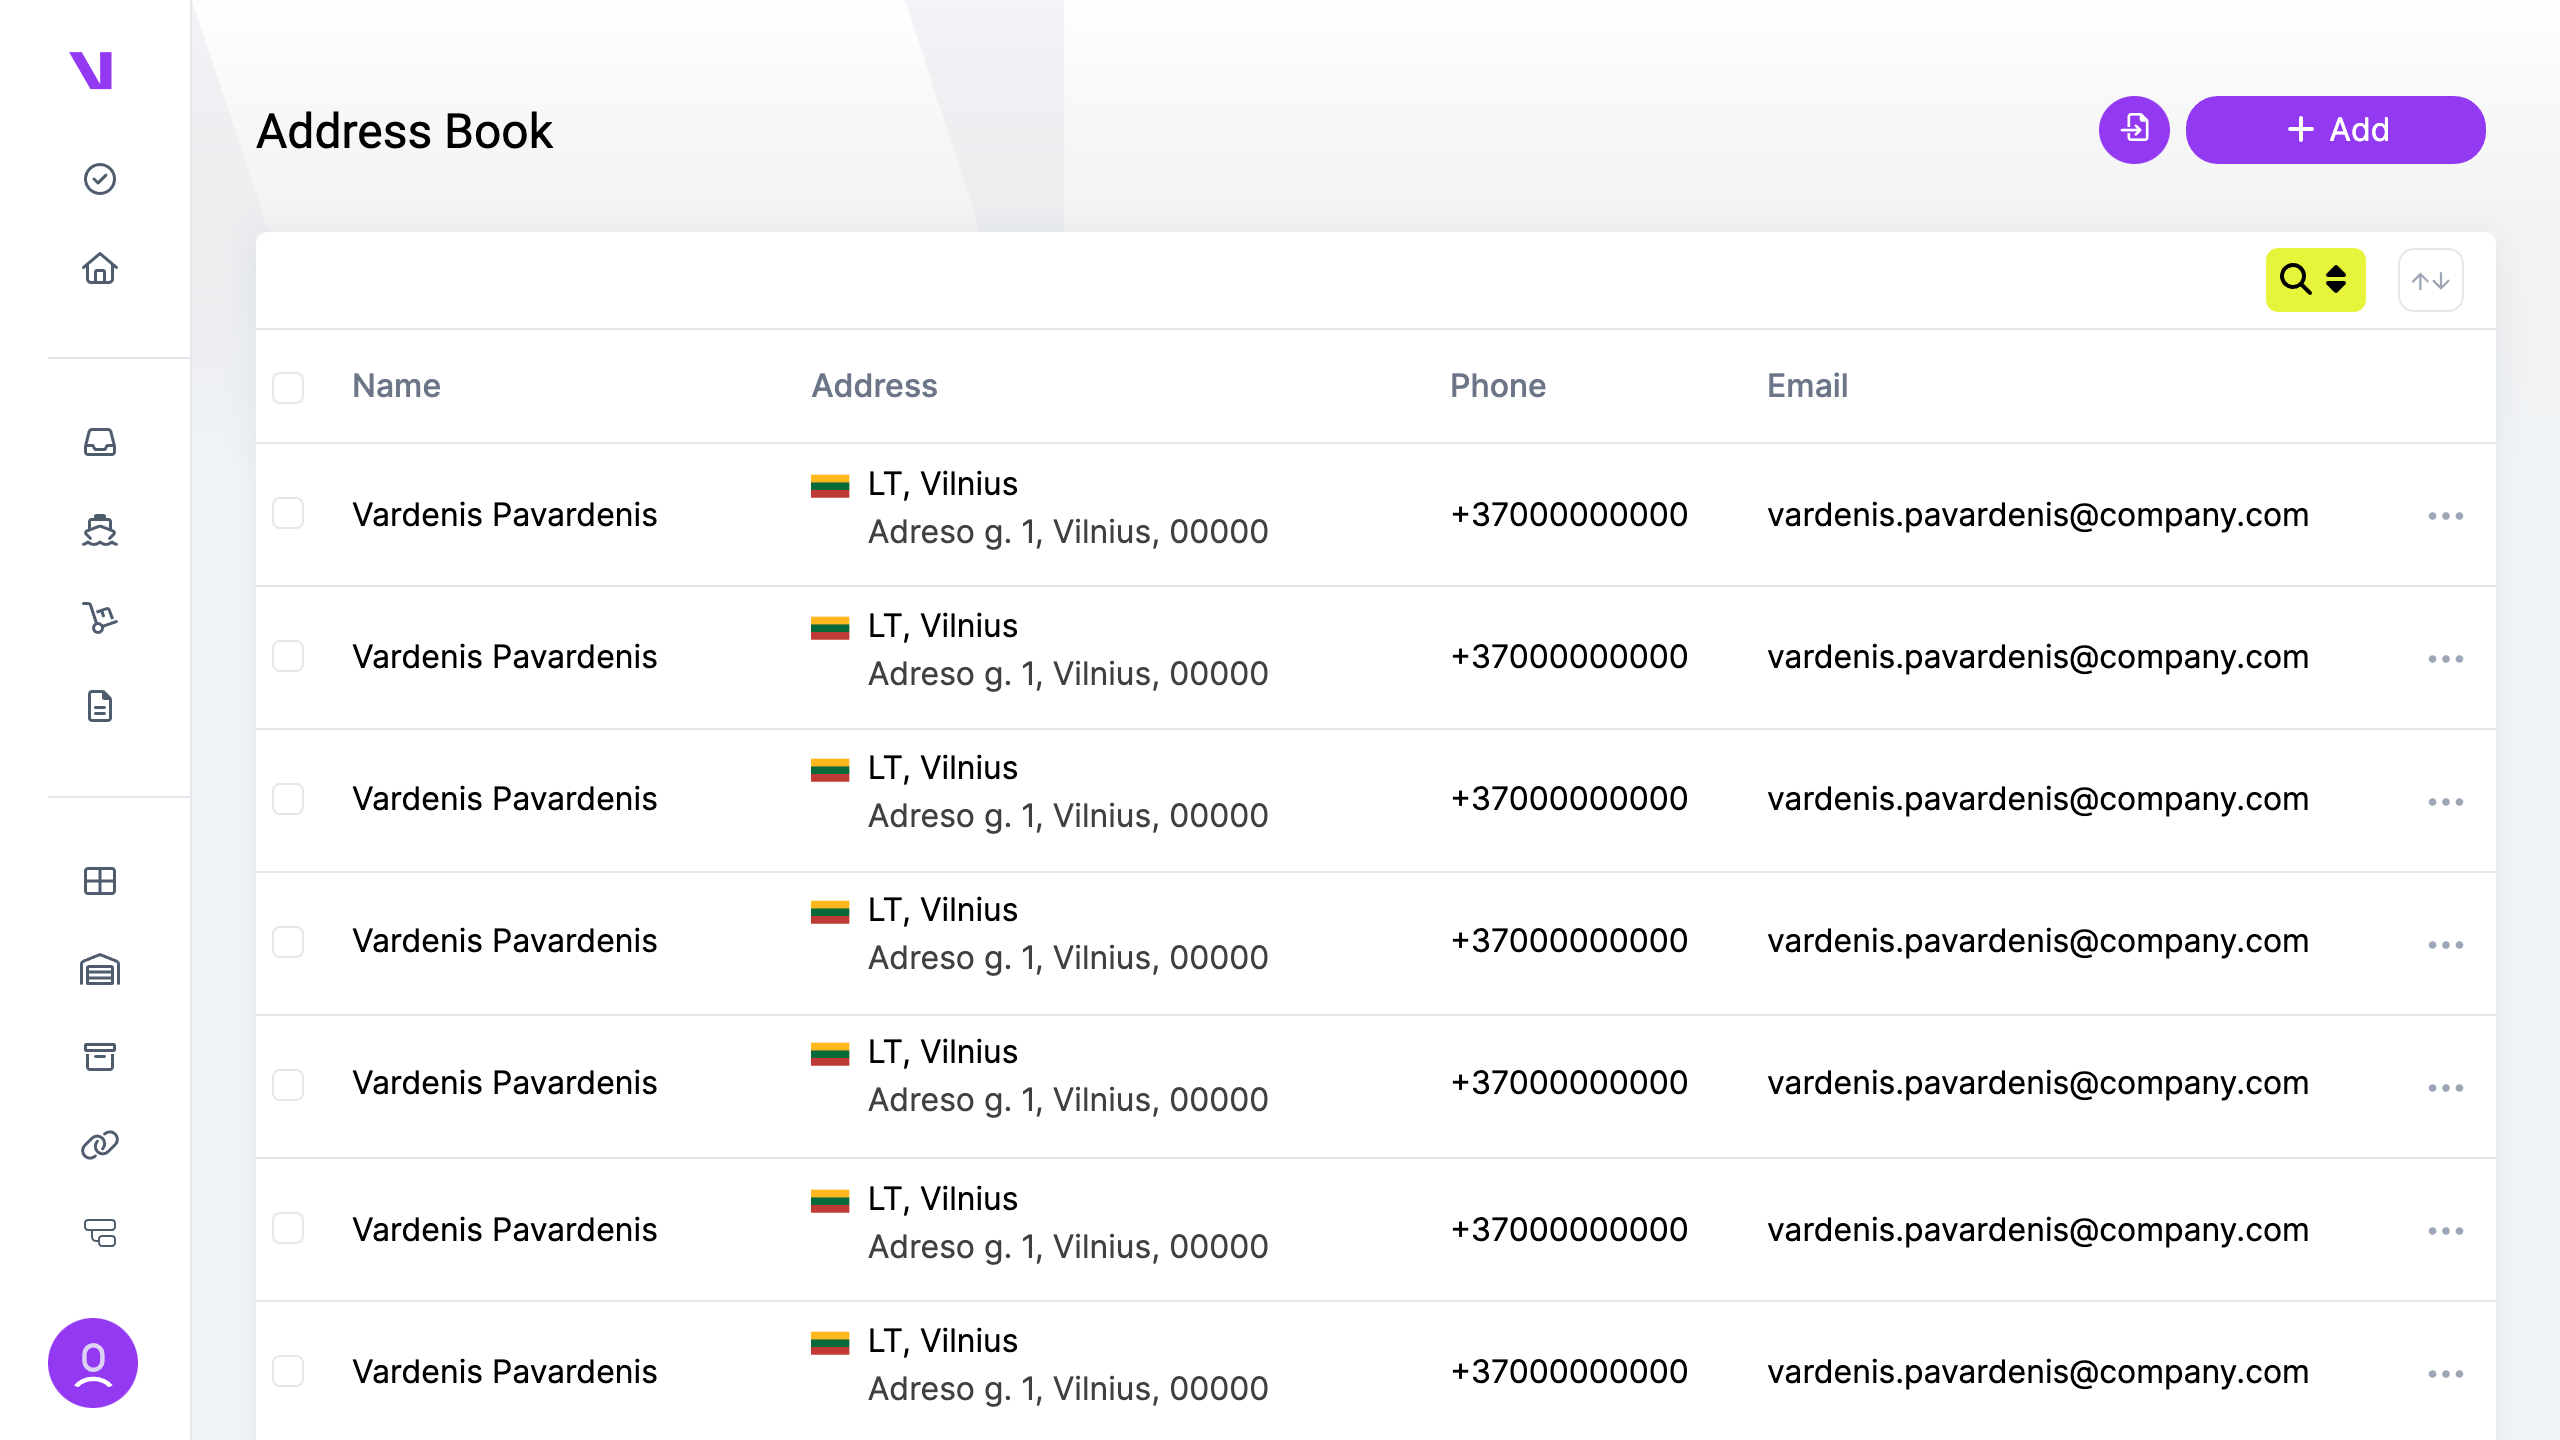
Address Book allows you to efficiently manage your contacts, expediting the shipping process.
You can add entries to your address book in two simple ways:
a) Manual Entry:
- Navigate to the “Address Book” page.
- Click on the “Add” button.
- Input the required information.
- Click “Save.”
b) Address Book Import:
- Go to the “Address Book” page.
- Click on the import icon located near the “Add” button.
- Download the example file provided.
- Modify the downloaded file by adding your desired address book entries.
- Upload the modified file to the system.
Once added, all address book entries are easily selectable when creating an order.
The Dashboard provides a quick, easily readable summary of your account.
The top three charts offer insights into orders, shipments, and those in transit.
The main “Shipments” chart displays status information about all shipments created in the last 7 days.
The “Orders” chart indicates the number of orders created within the same timeframe.
Lastly, the “Order Value” chart shows the total value of your orders over the last 7 days.
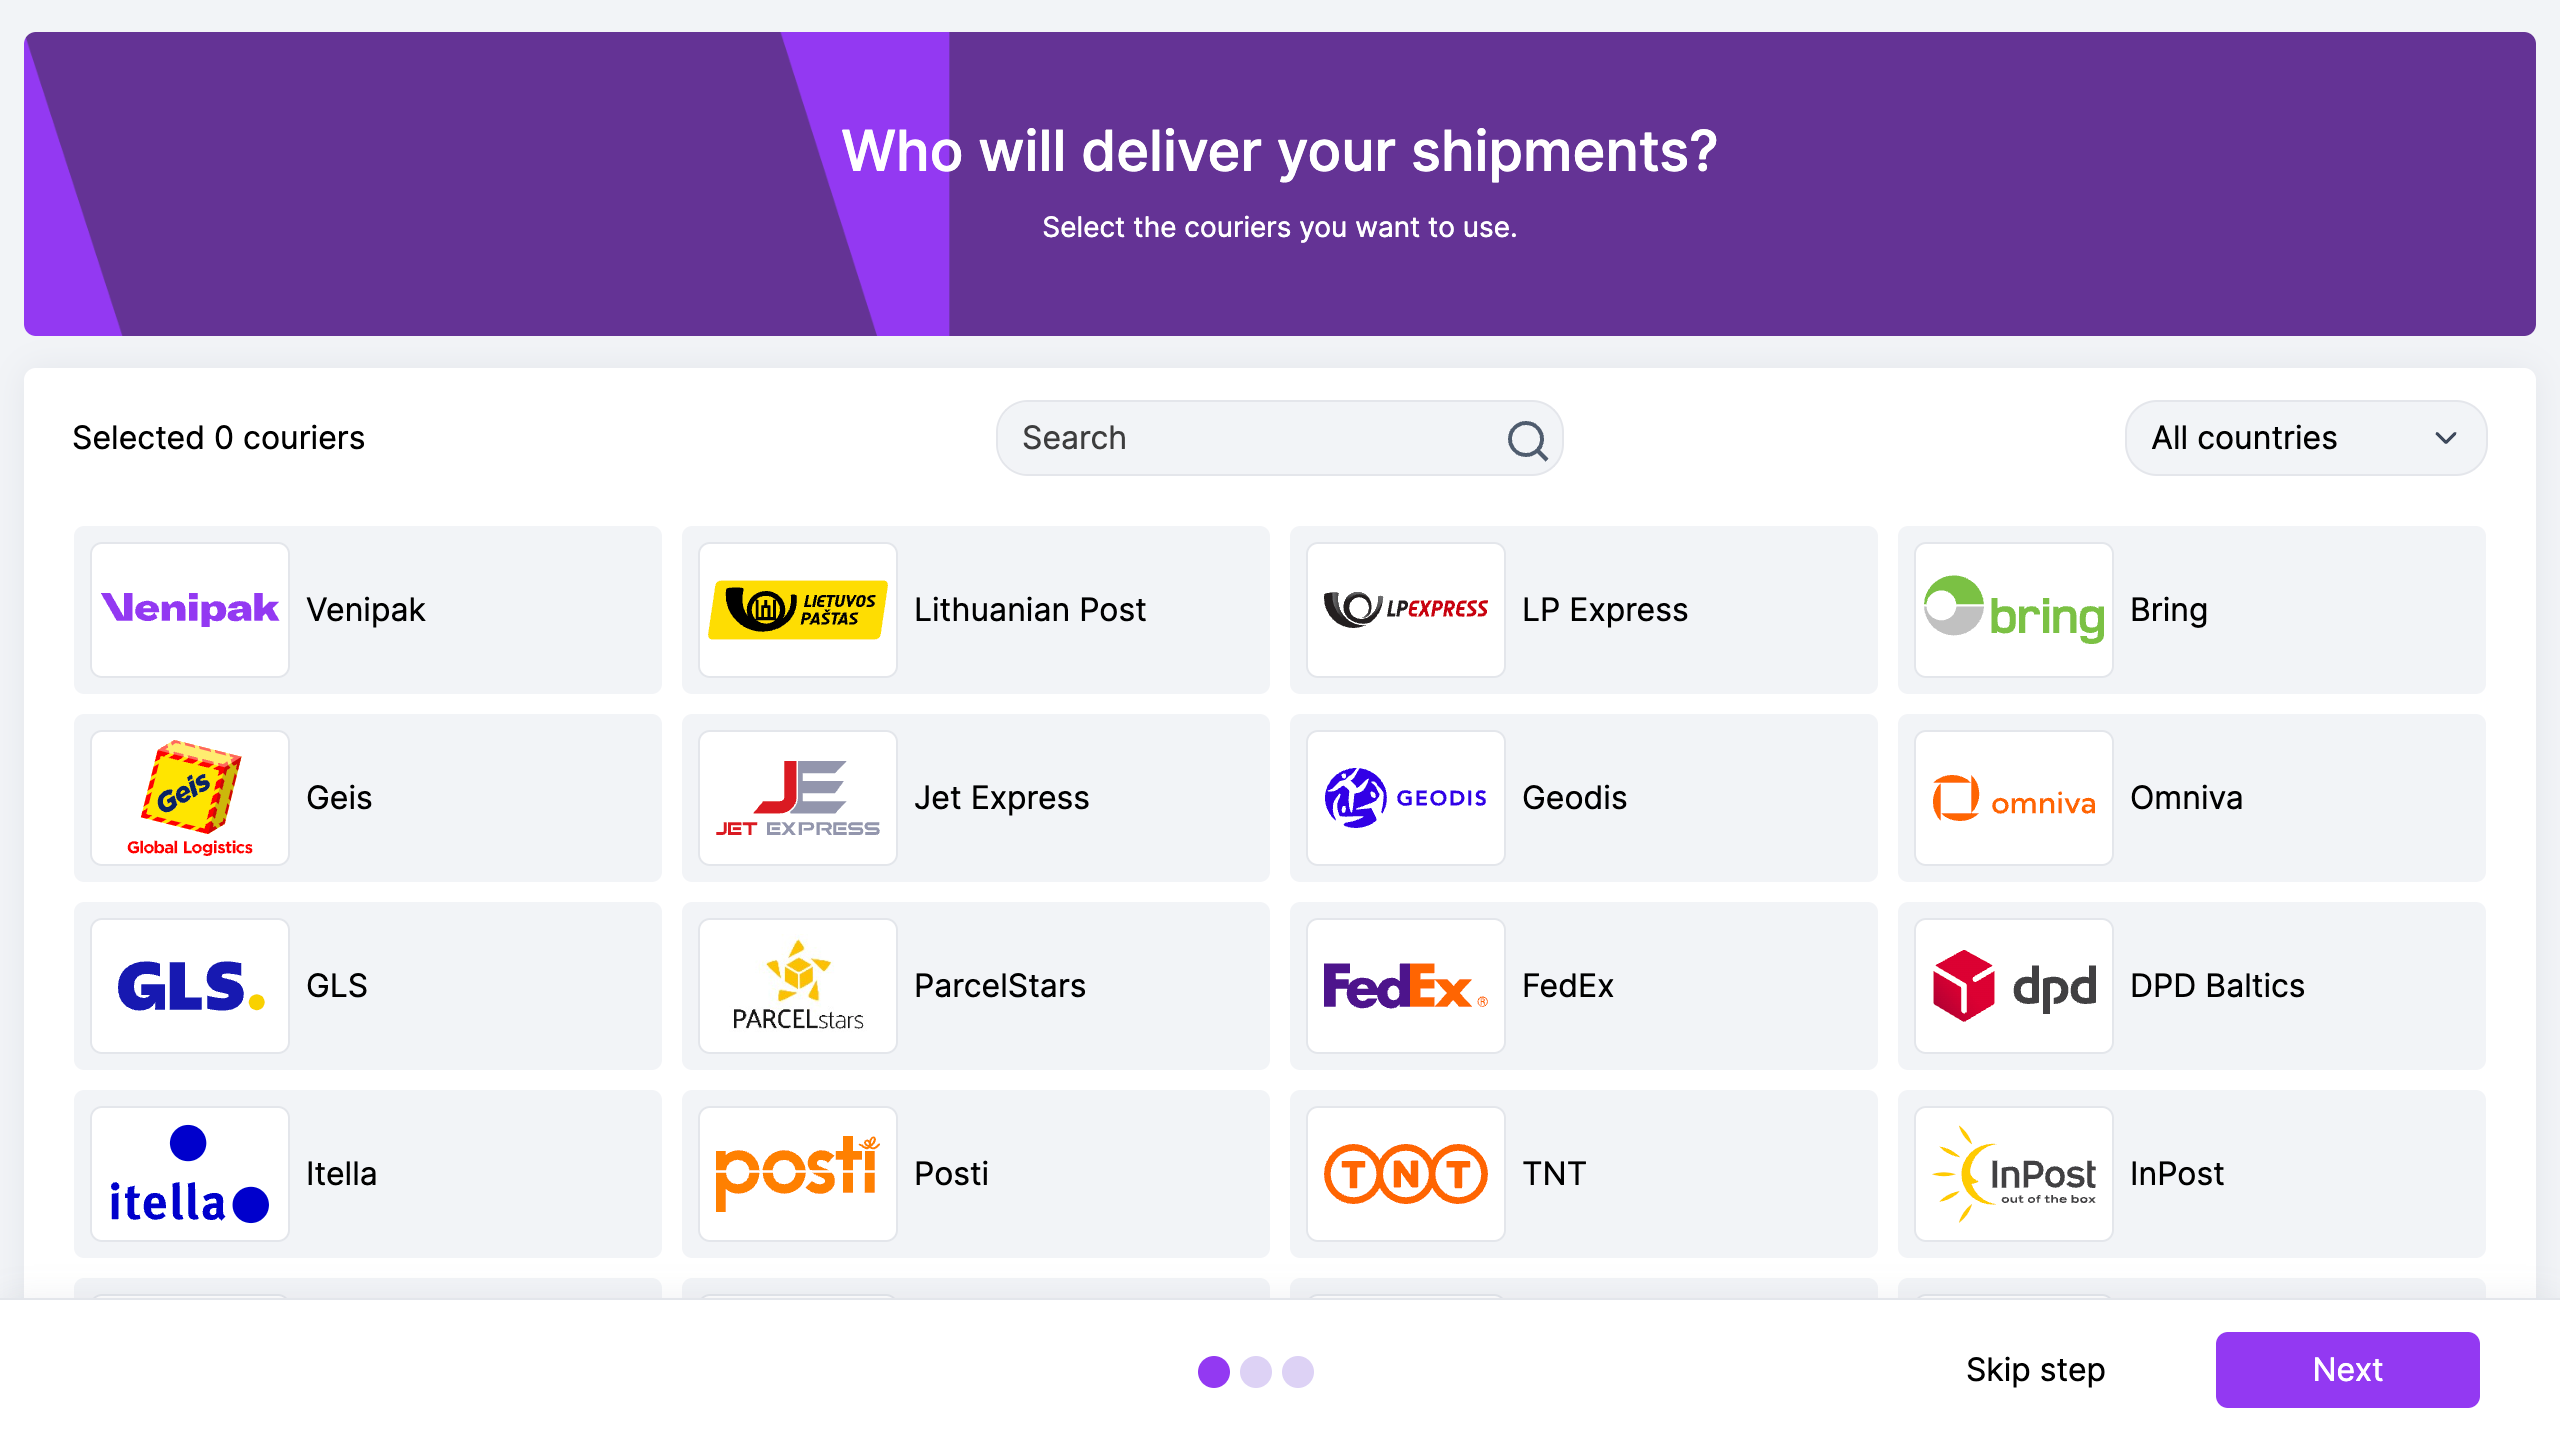
Upon first accessing the system, you’ll encounter the onboarding process designed to familiarize you with the platform.
This onboarding process has three simple steps:
- Select your preferred courier services.
- Choose the e-commerce integrations you utilize.
- Provide responses to some questions.
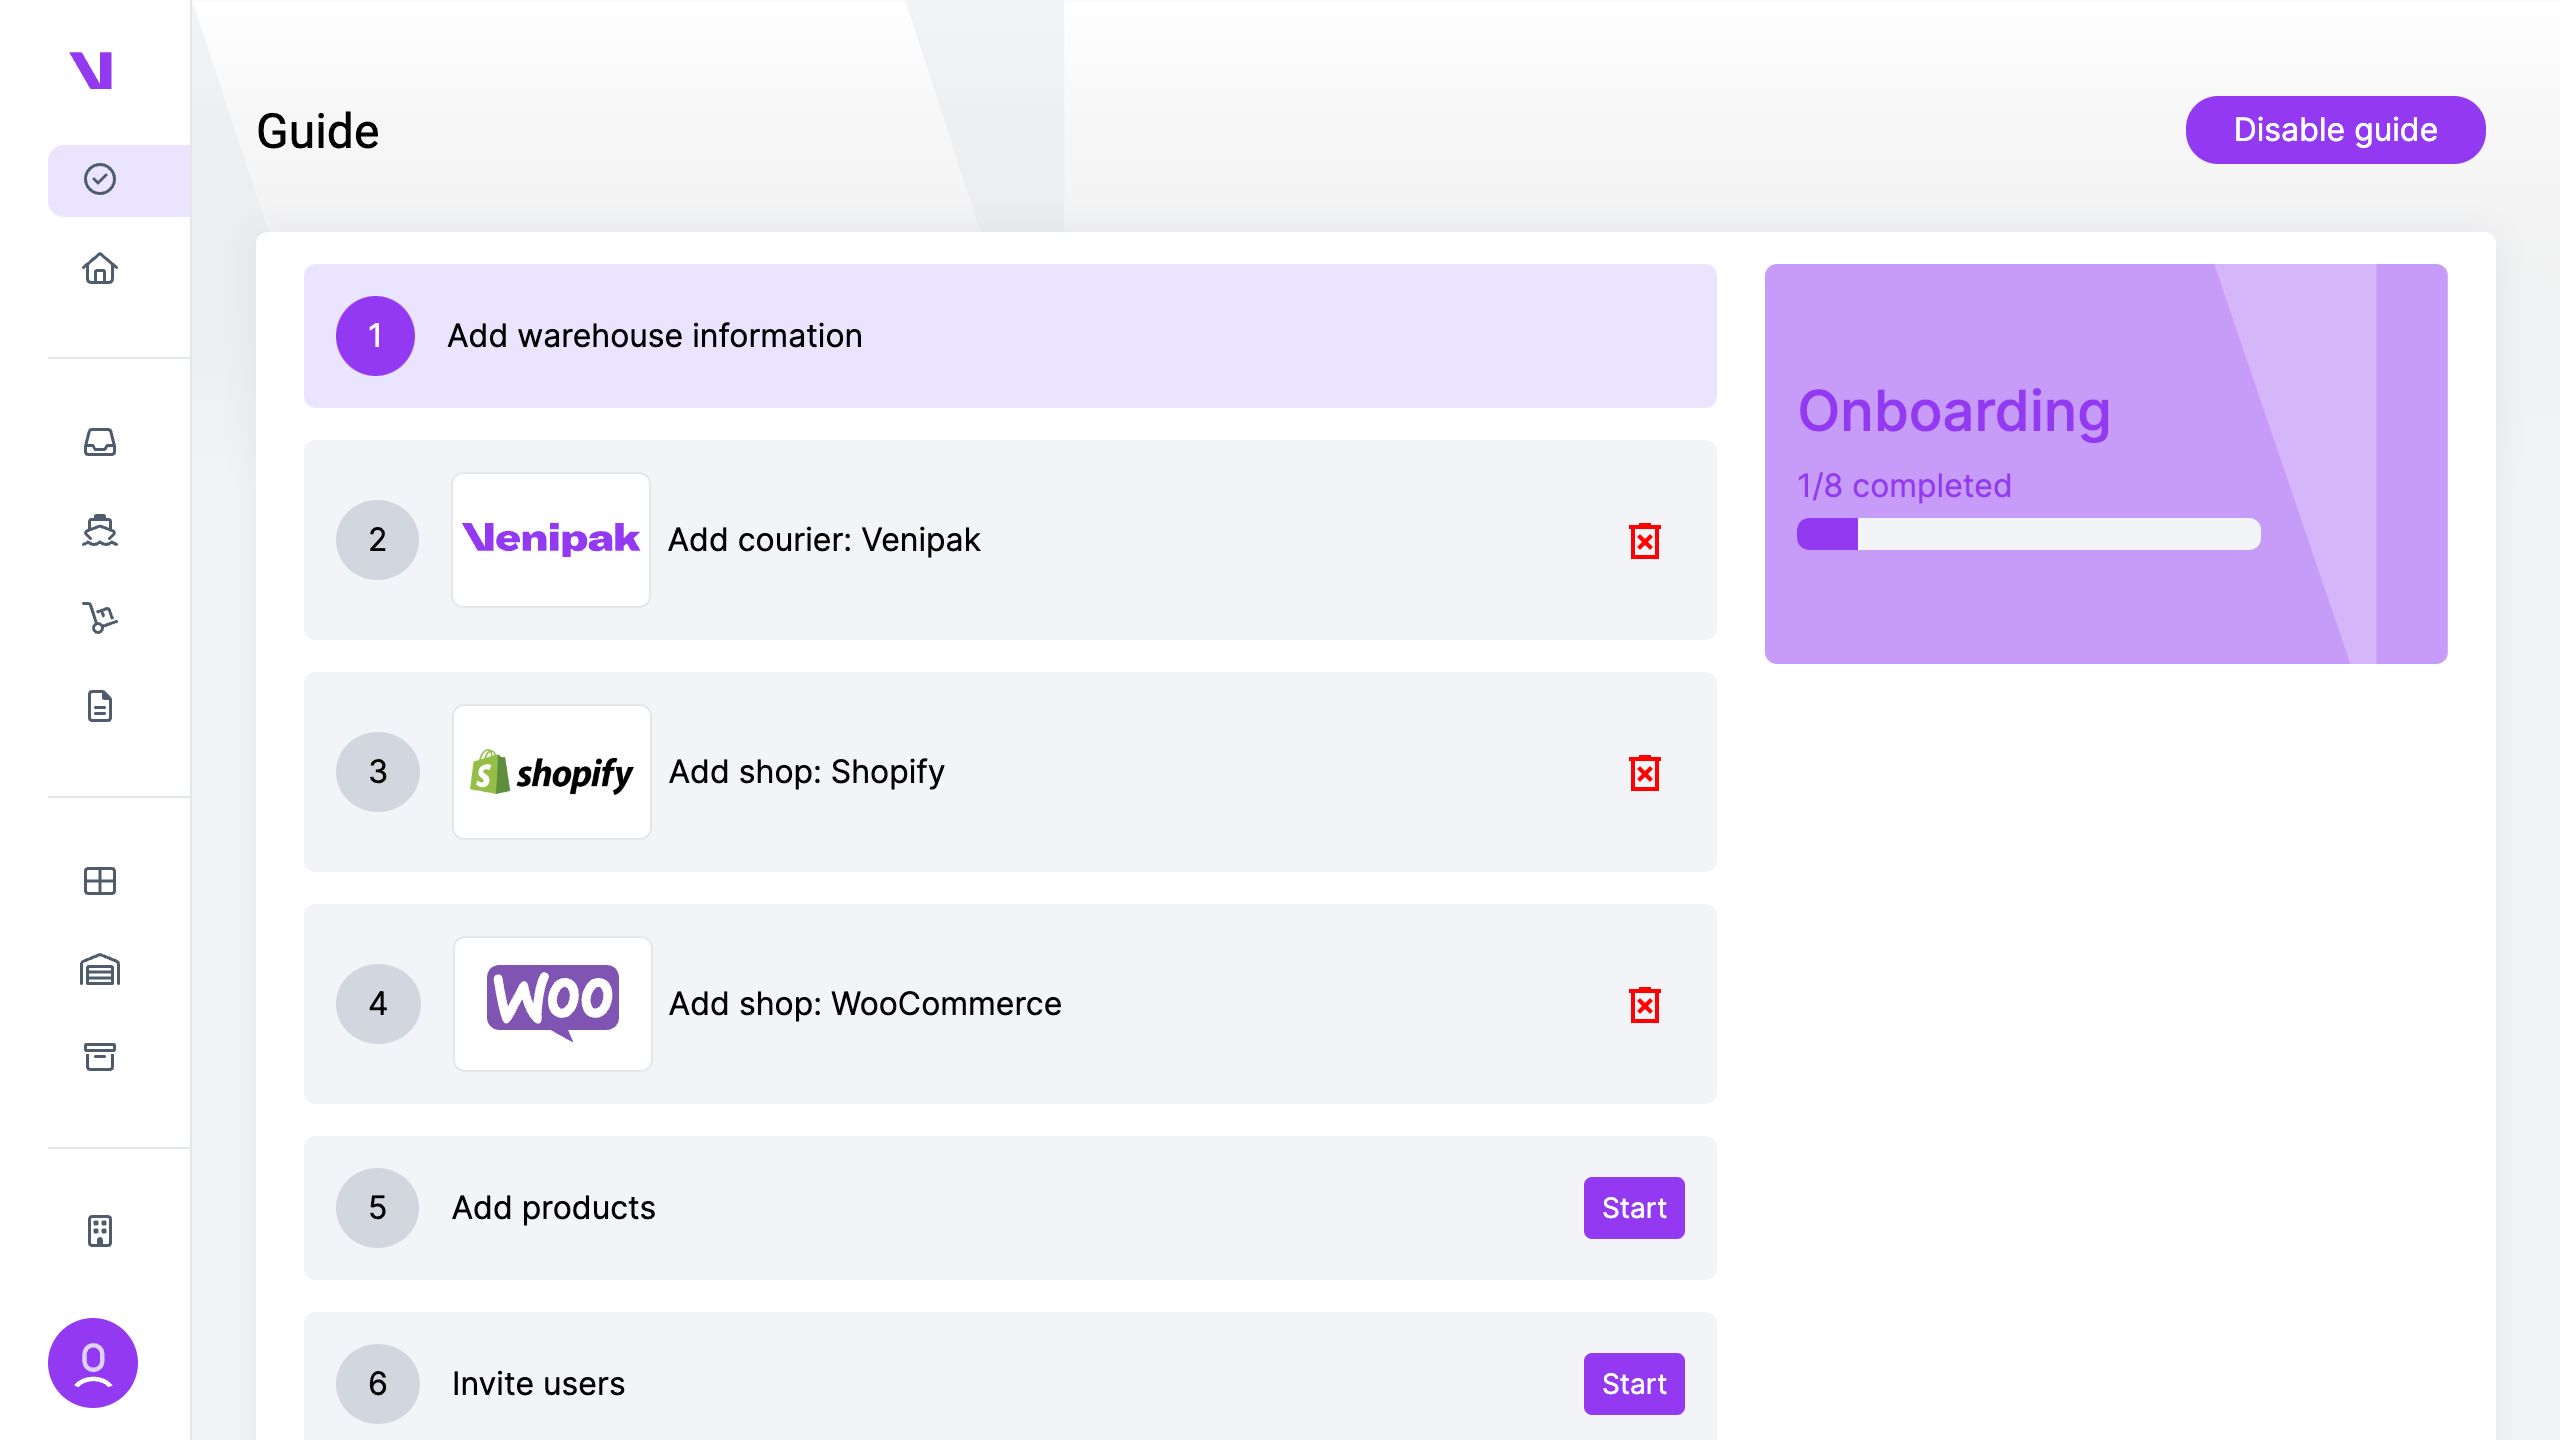
Upon completion of the onboarding process, you’ll seamlessly transition to the guide.
The guide assists you in:
- Inputting essential warehouse information.
- Configuring courier and e-commerce integrations.
- Adding products relevant to your business.
- Inviting users or colleagues to collaborate.
- Including package details utilized in your operations.
- Implementing automations to streamline repetitive tasks.
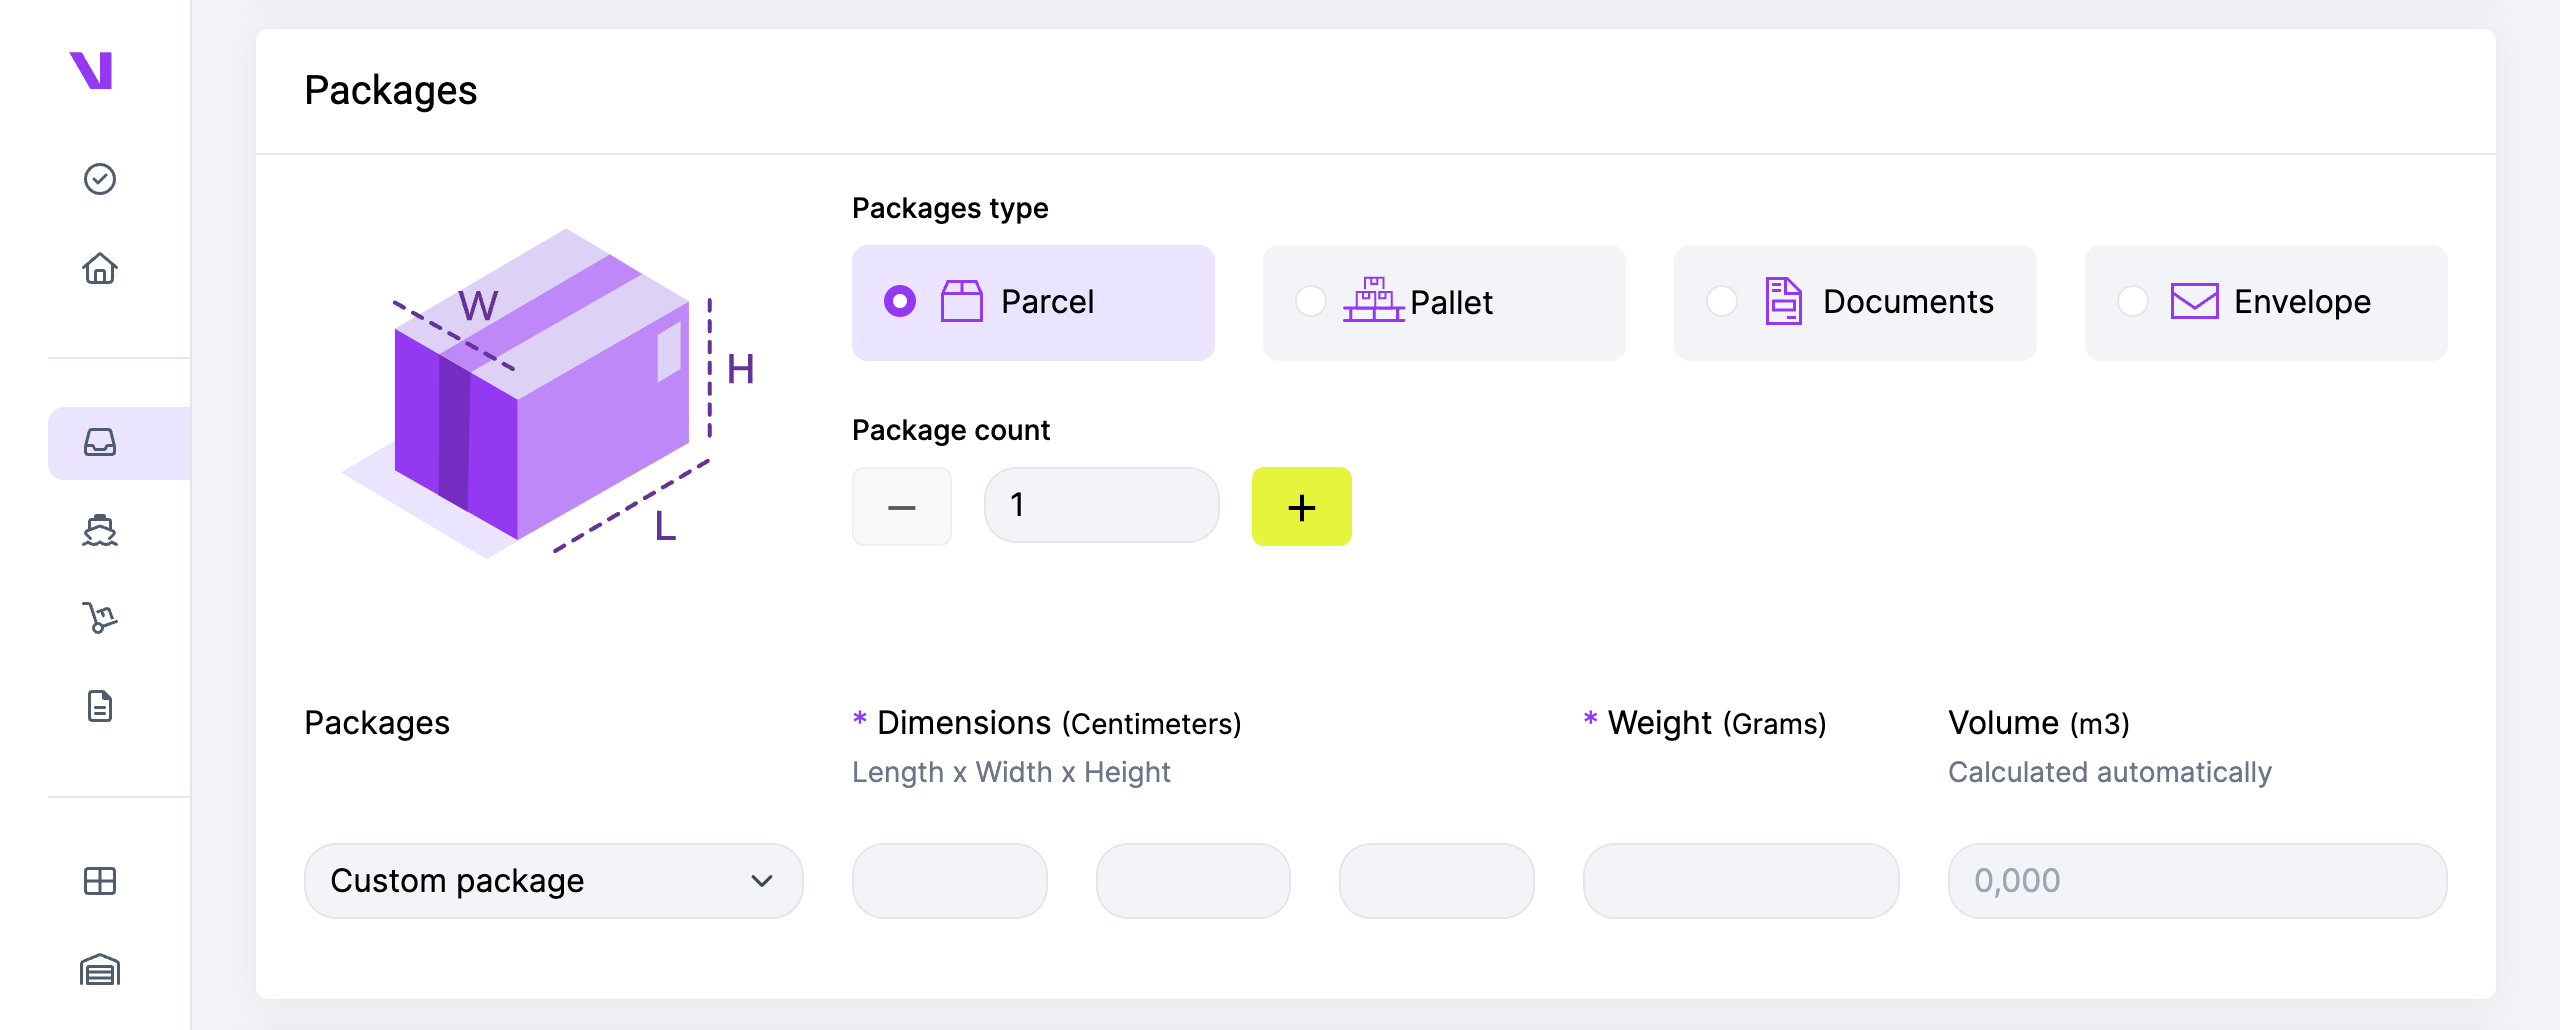
- Envelope: Typically used for flat/small items or documents.
- Parcel: Suitable for small to medium-sized items.
- Documents: Specifically designed for transporting only documents.
- Pallet: Ideal for shipping large or heavy goods, often stacked and wrapped for stability during transport.
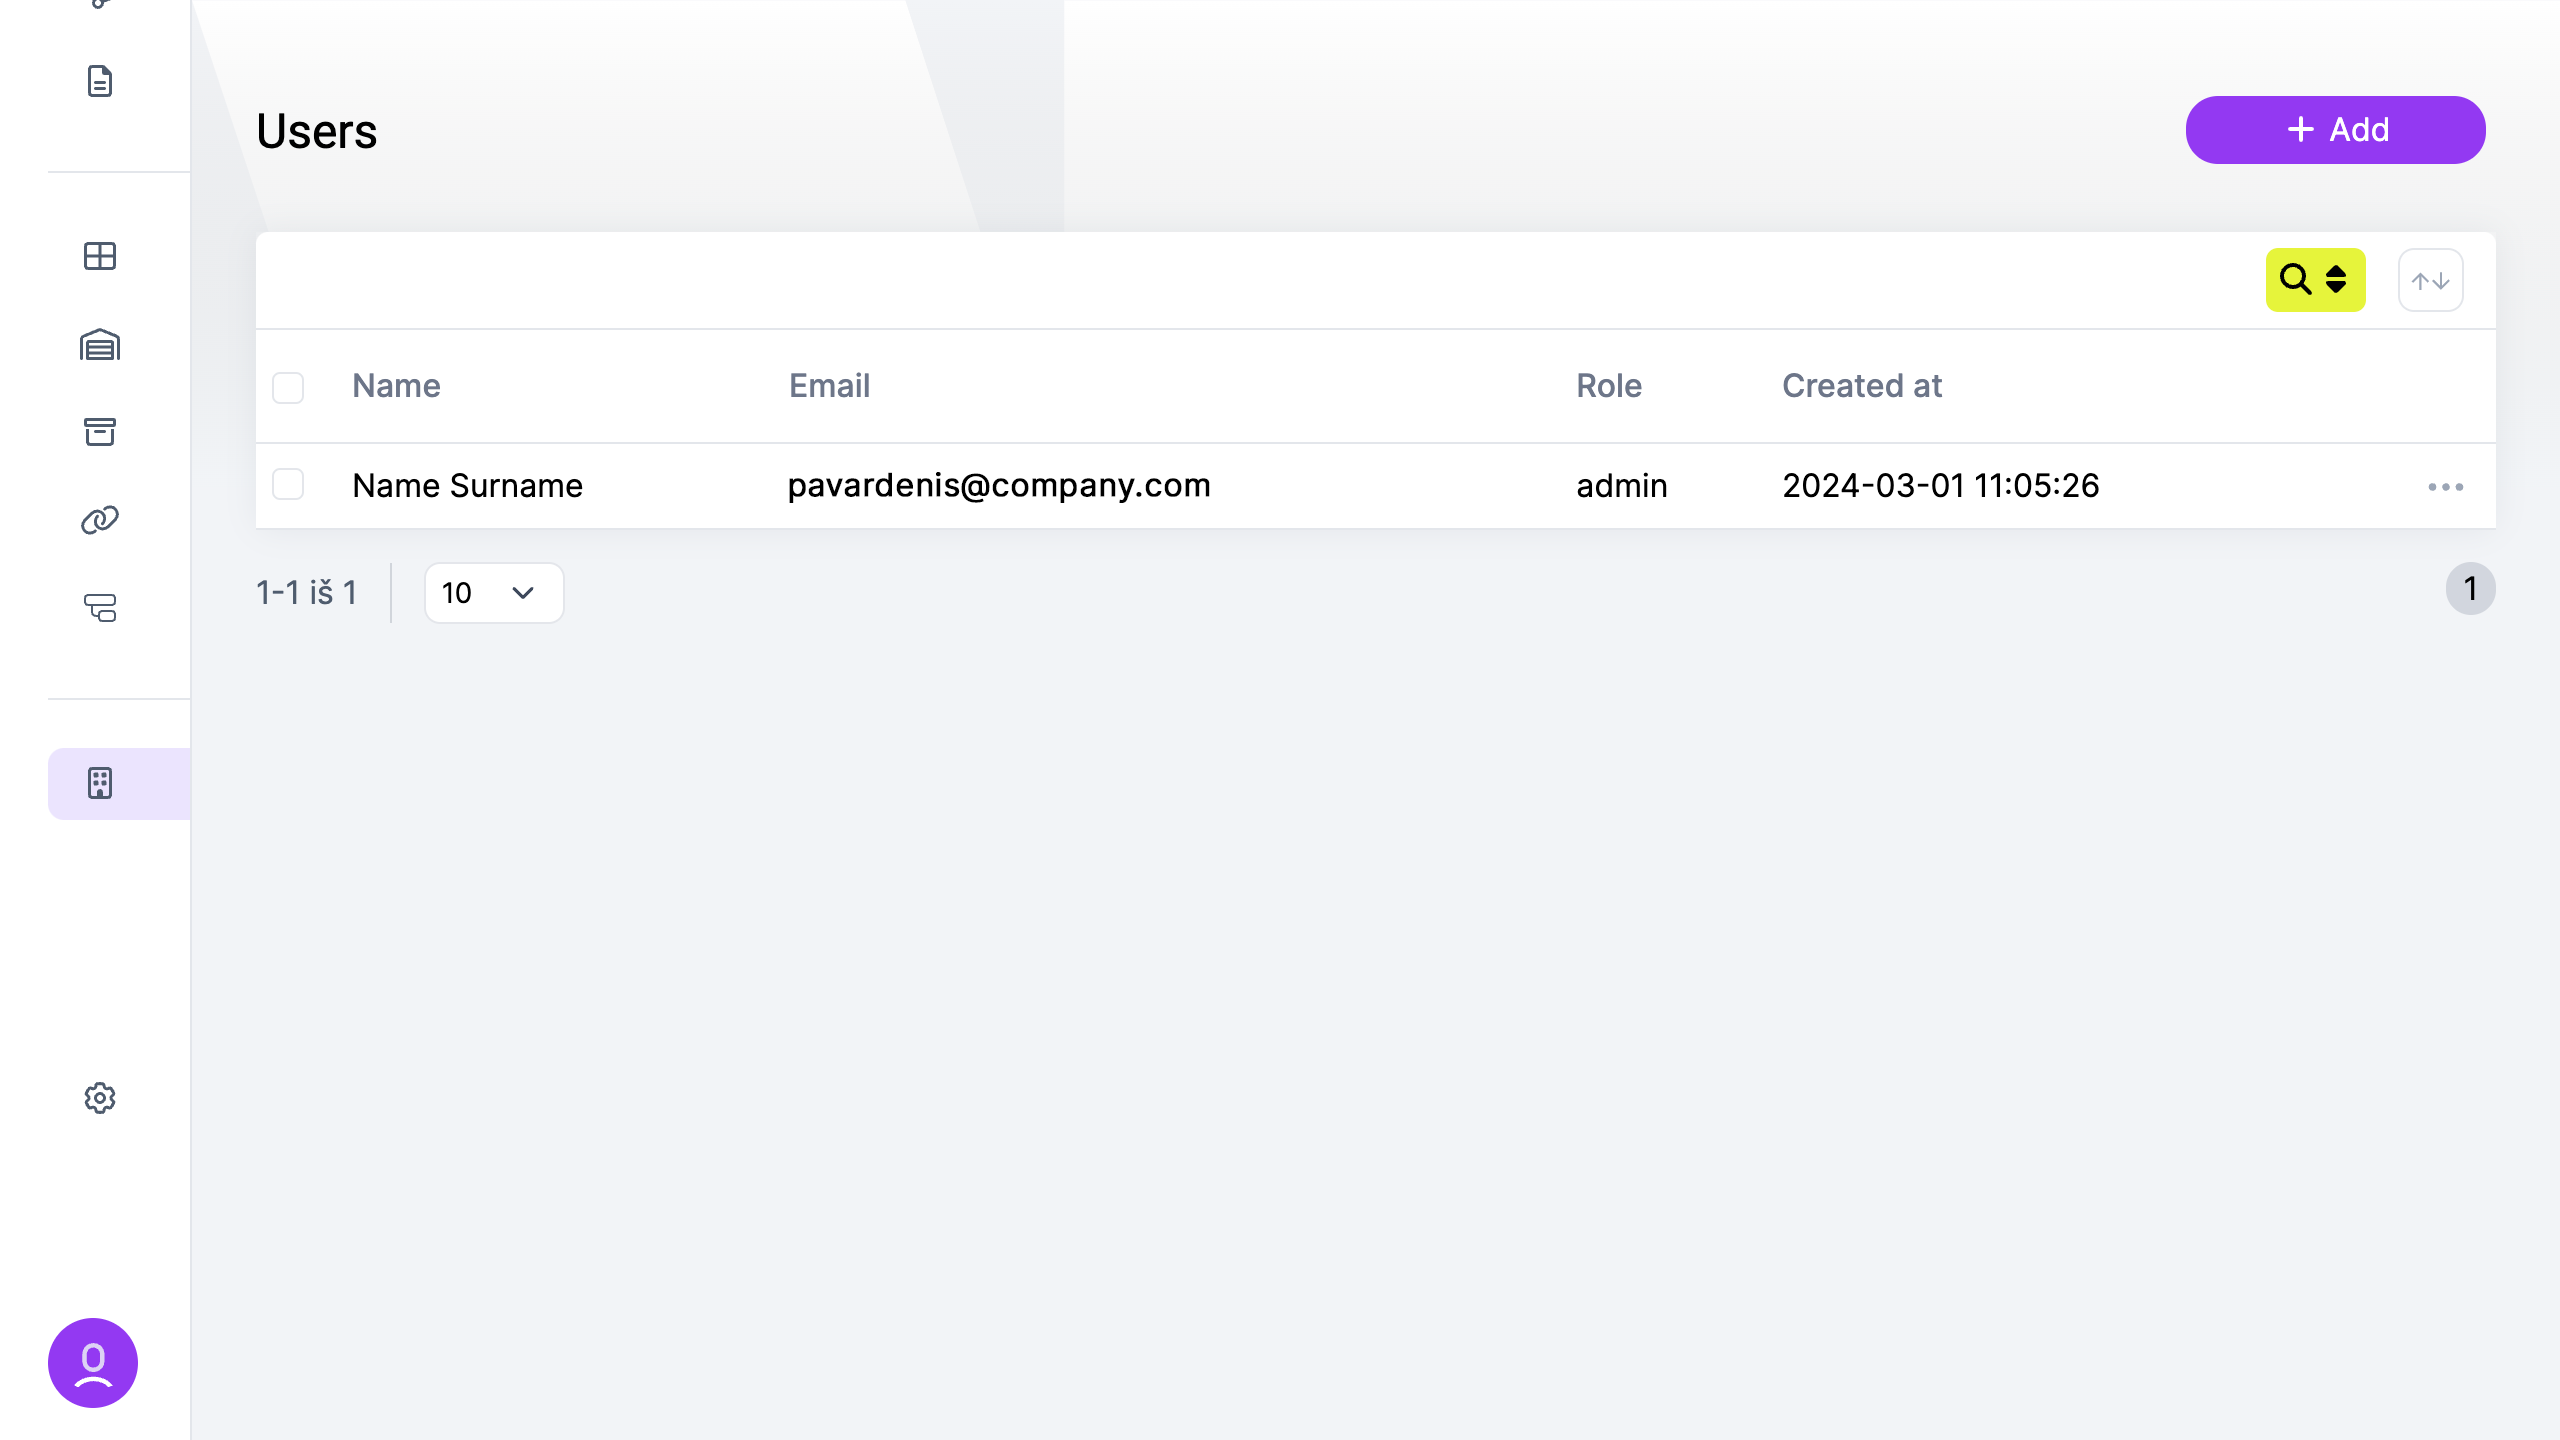
You can easily invite users or colleagues to access the system with the following steps:
- Navigate to the “Users” page under the “Company” section.
- Click on the “Add” button.
- Input the required information for the new user.
- An invitation email will be sent to the user, granting them access to the system.
Currently, there are two roles available:
- Admin: Admins have unrestricted access to all features and functionalities.
- User: Users have access to all features except for the ability to invite other users.
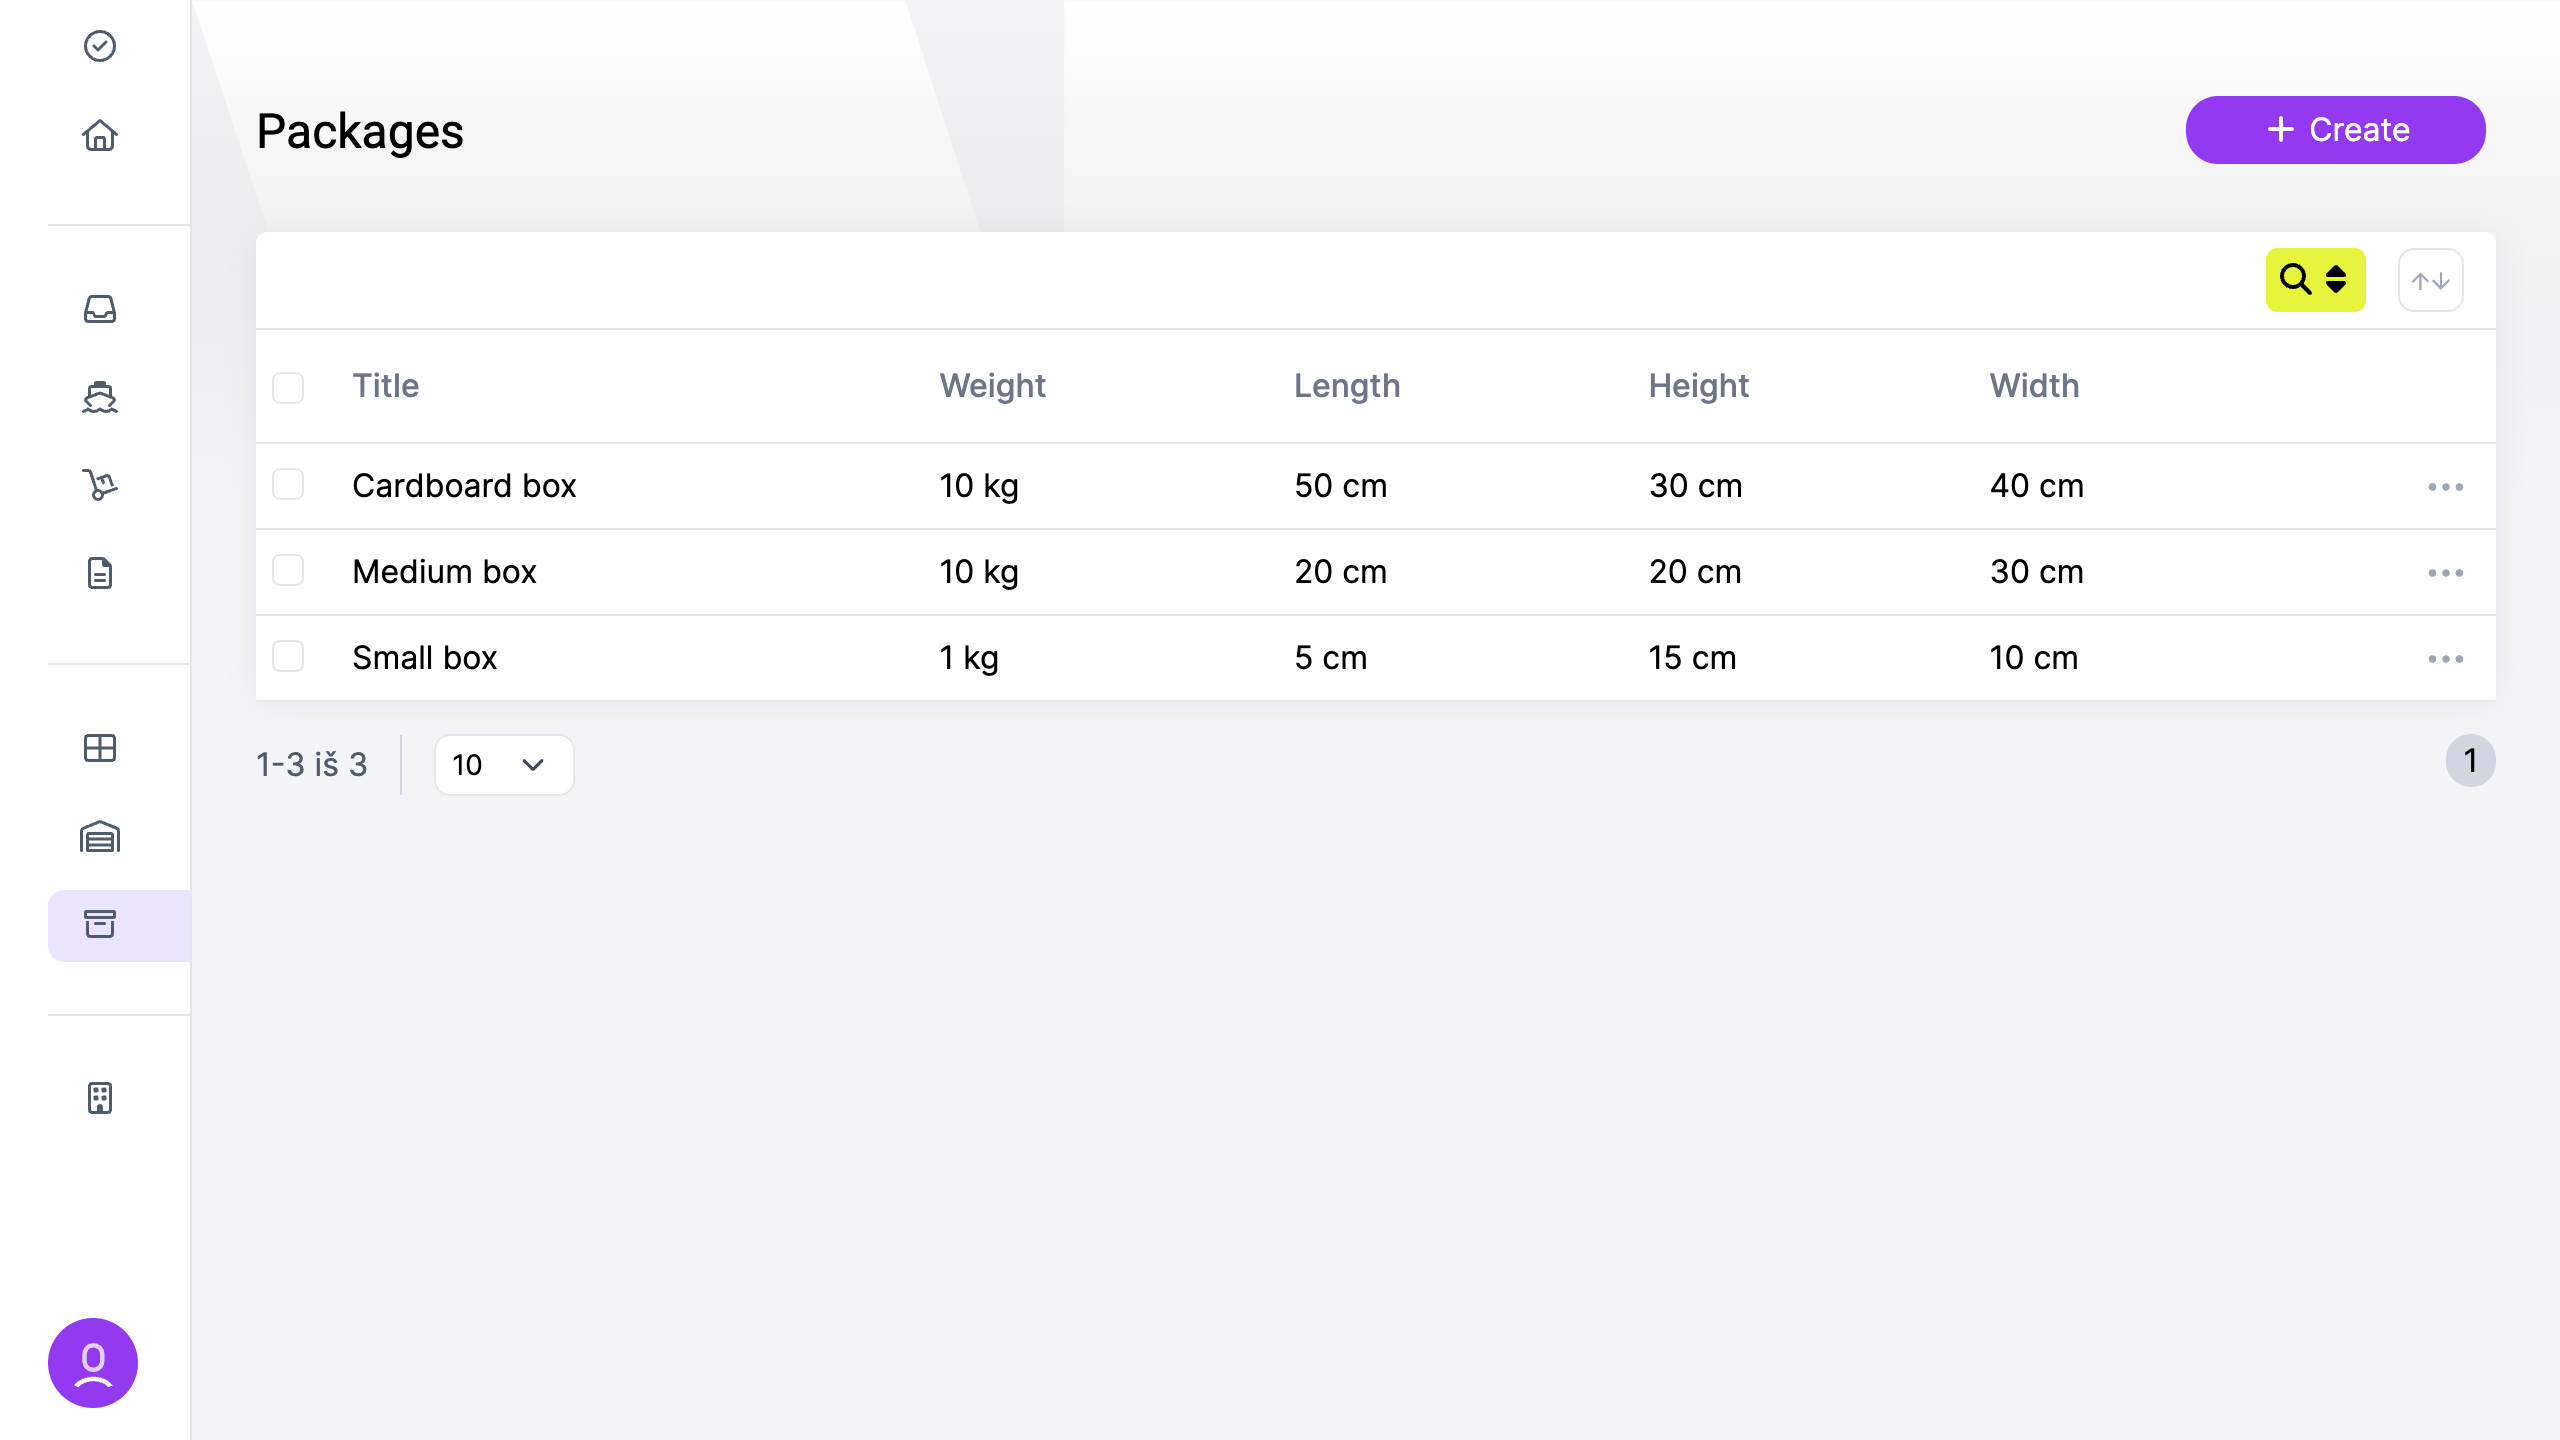
Package management is used to create and manage package presets. Package presets are used to create orders faster.
- Navigate to the “Packages” page.
- Click on the “Create” button.
- Input the details regarding the package you wish to add.
- Click “Save”.
When creating an order, you can select a package preset and all package information will be automatically filled in.
Product management is designed to manage products and their information. Products are used to create orders and shipments.
This information is also used to override product information from the integration. For example, if the integration does not provide product weight, it can be added manually to the product and it will be used when creating a shipment.
- Navigate to the “Products” page.
- Click on the “Create” button.
- Input the details regarding the product you wish to add.
- Click “Save”.
When creating an order, you can select products and all related information will be automatically filled in.

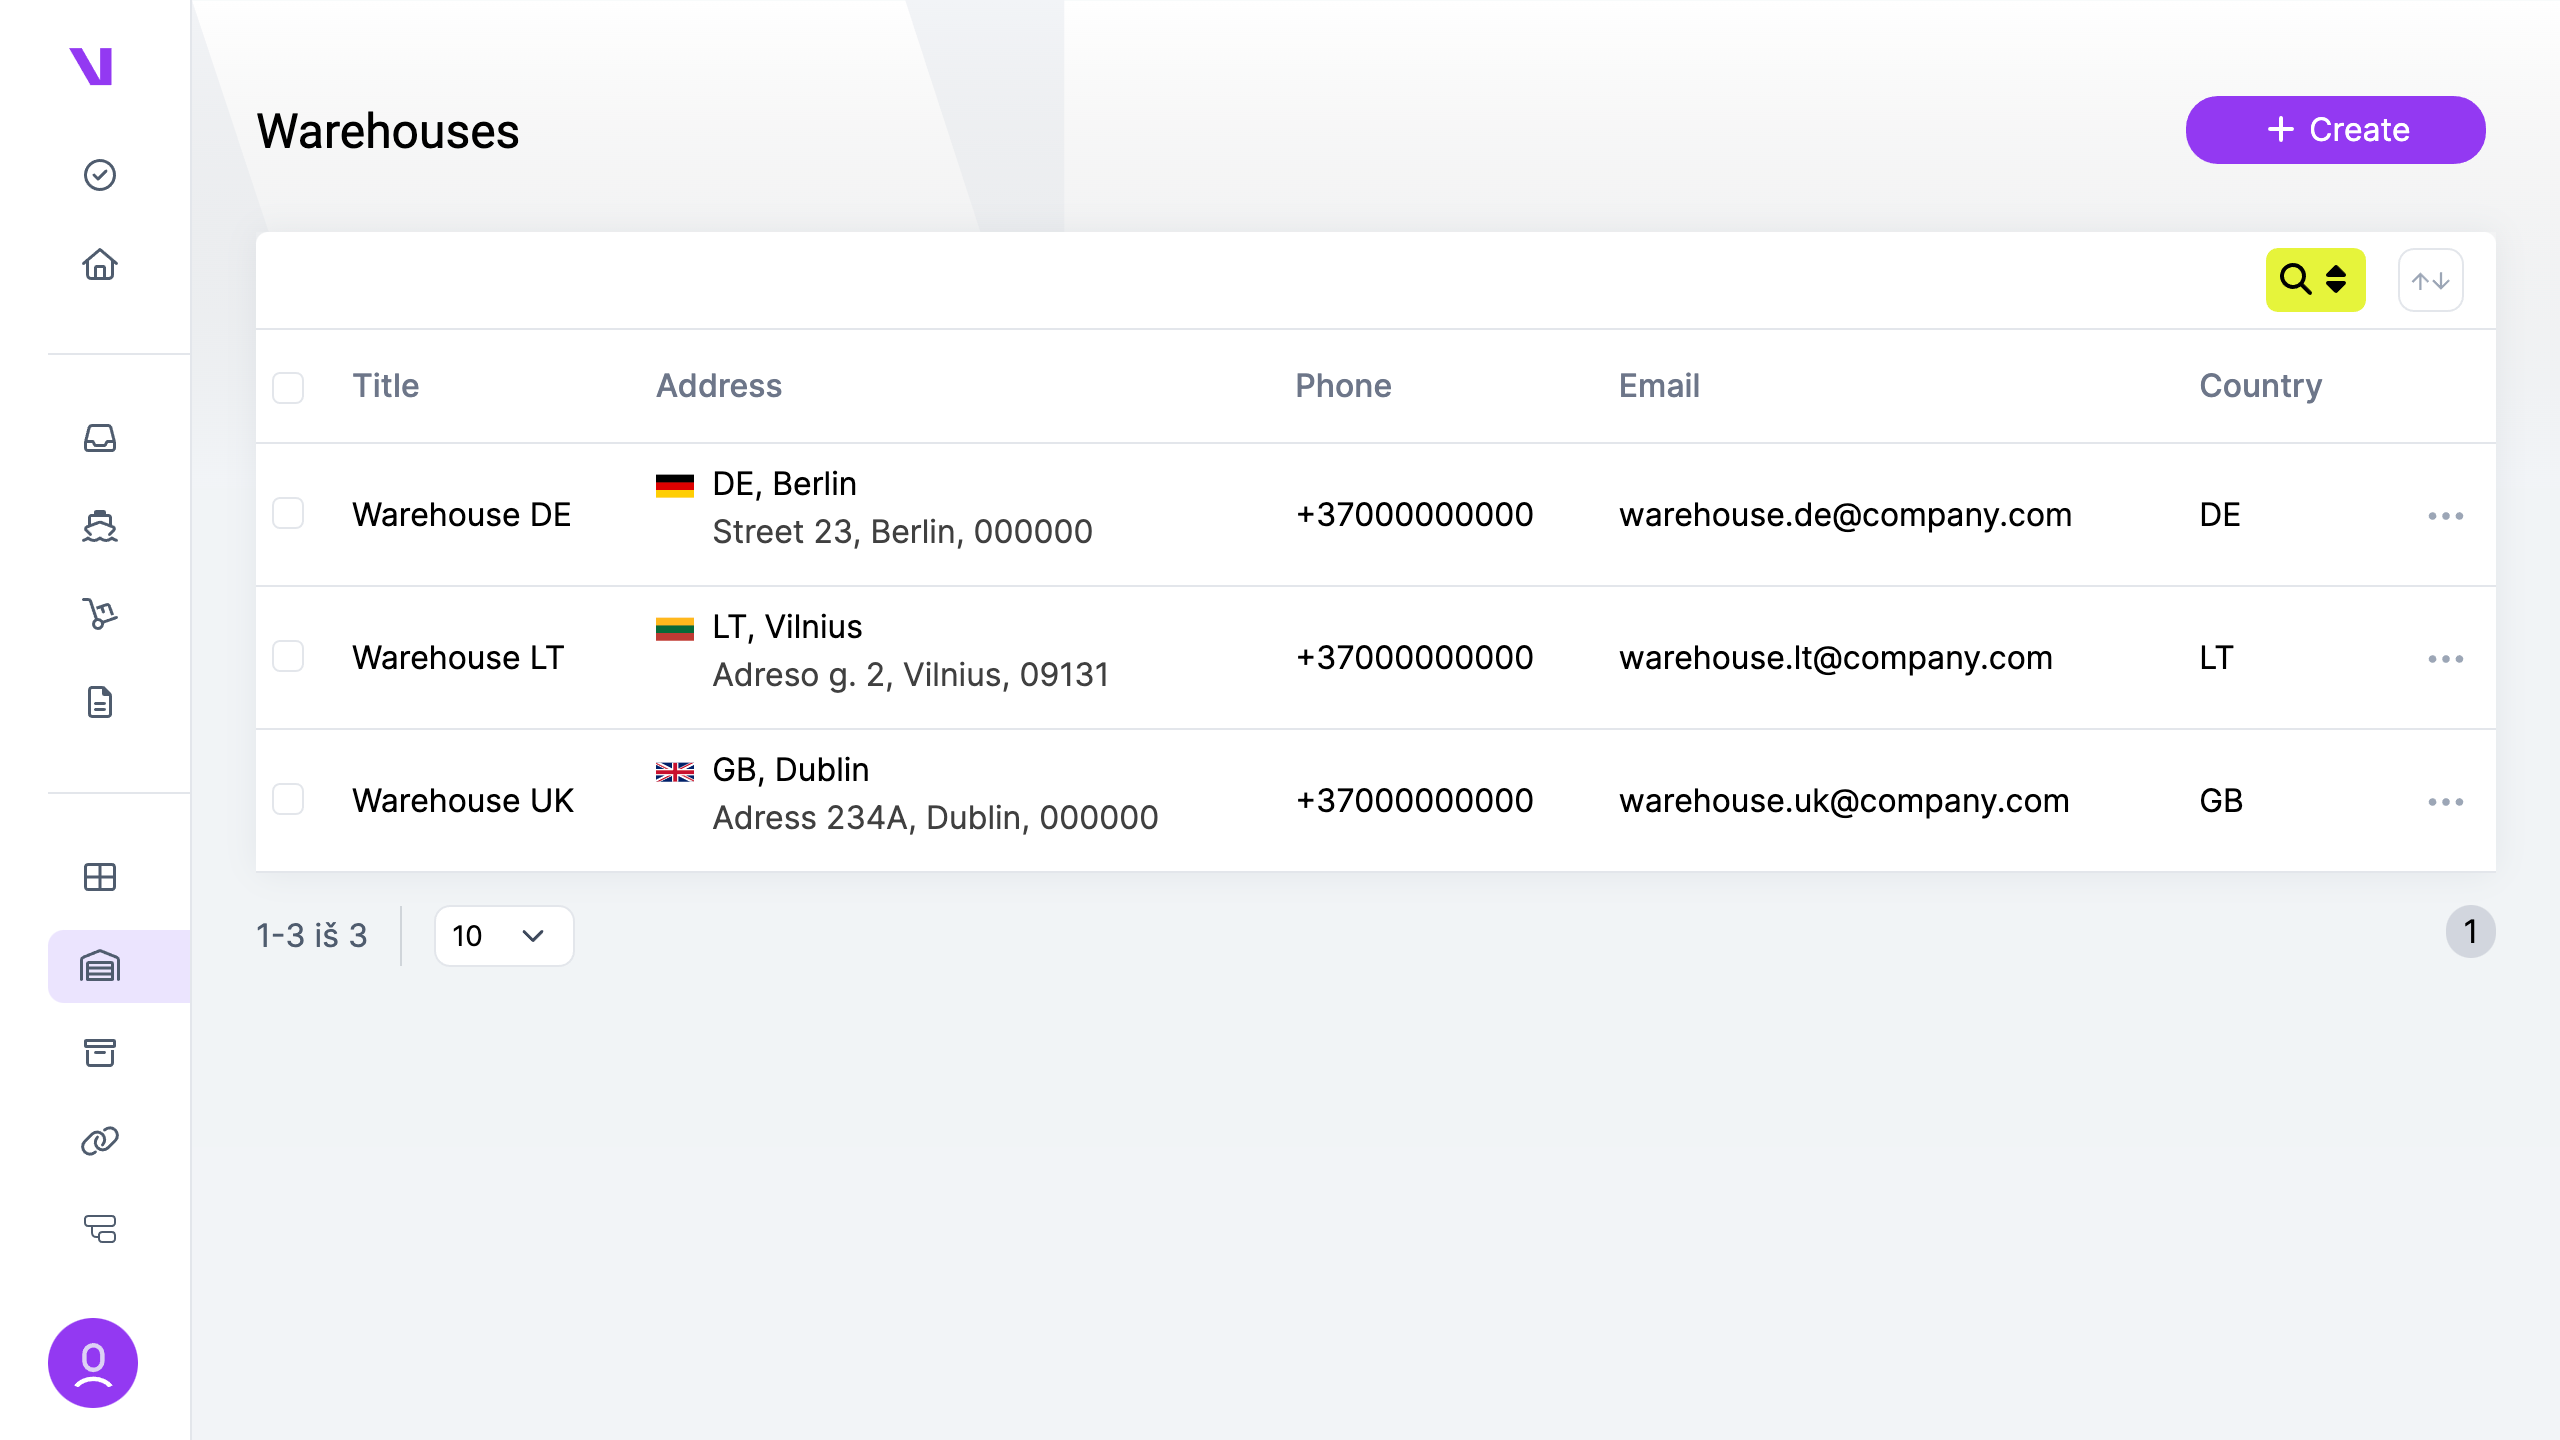
Warehouses are used as sender locations. A warehouse is a physical location where the goods are sent from.
A single company can have multiple warehouses. Each warehouse has its own address and contact information.
Warehouses are used to create orders and shipments. When creating an order, you need to select a warehouse from which
the goods will be sent or manually enter the sender’s address without selecting a warehouse.
- Navigate to the “Warehouses” page.
- Click on the “Create” button.
- Input the details regarding the warehouse you wish to add.
- Click “Save”.
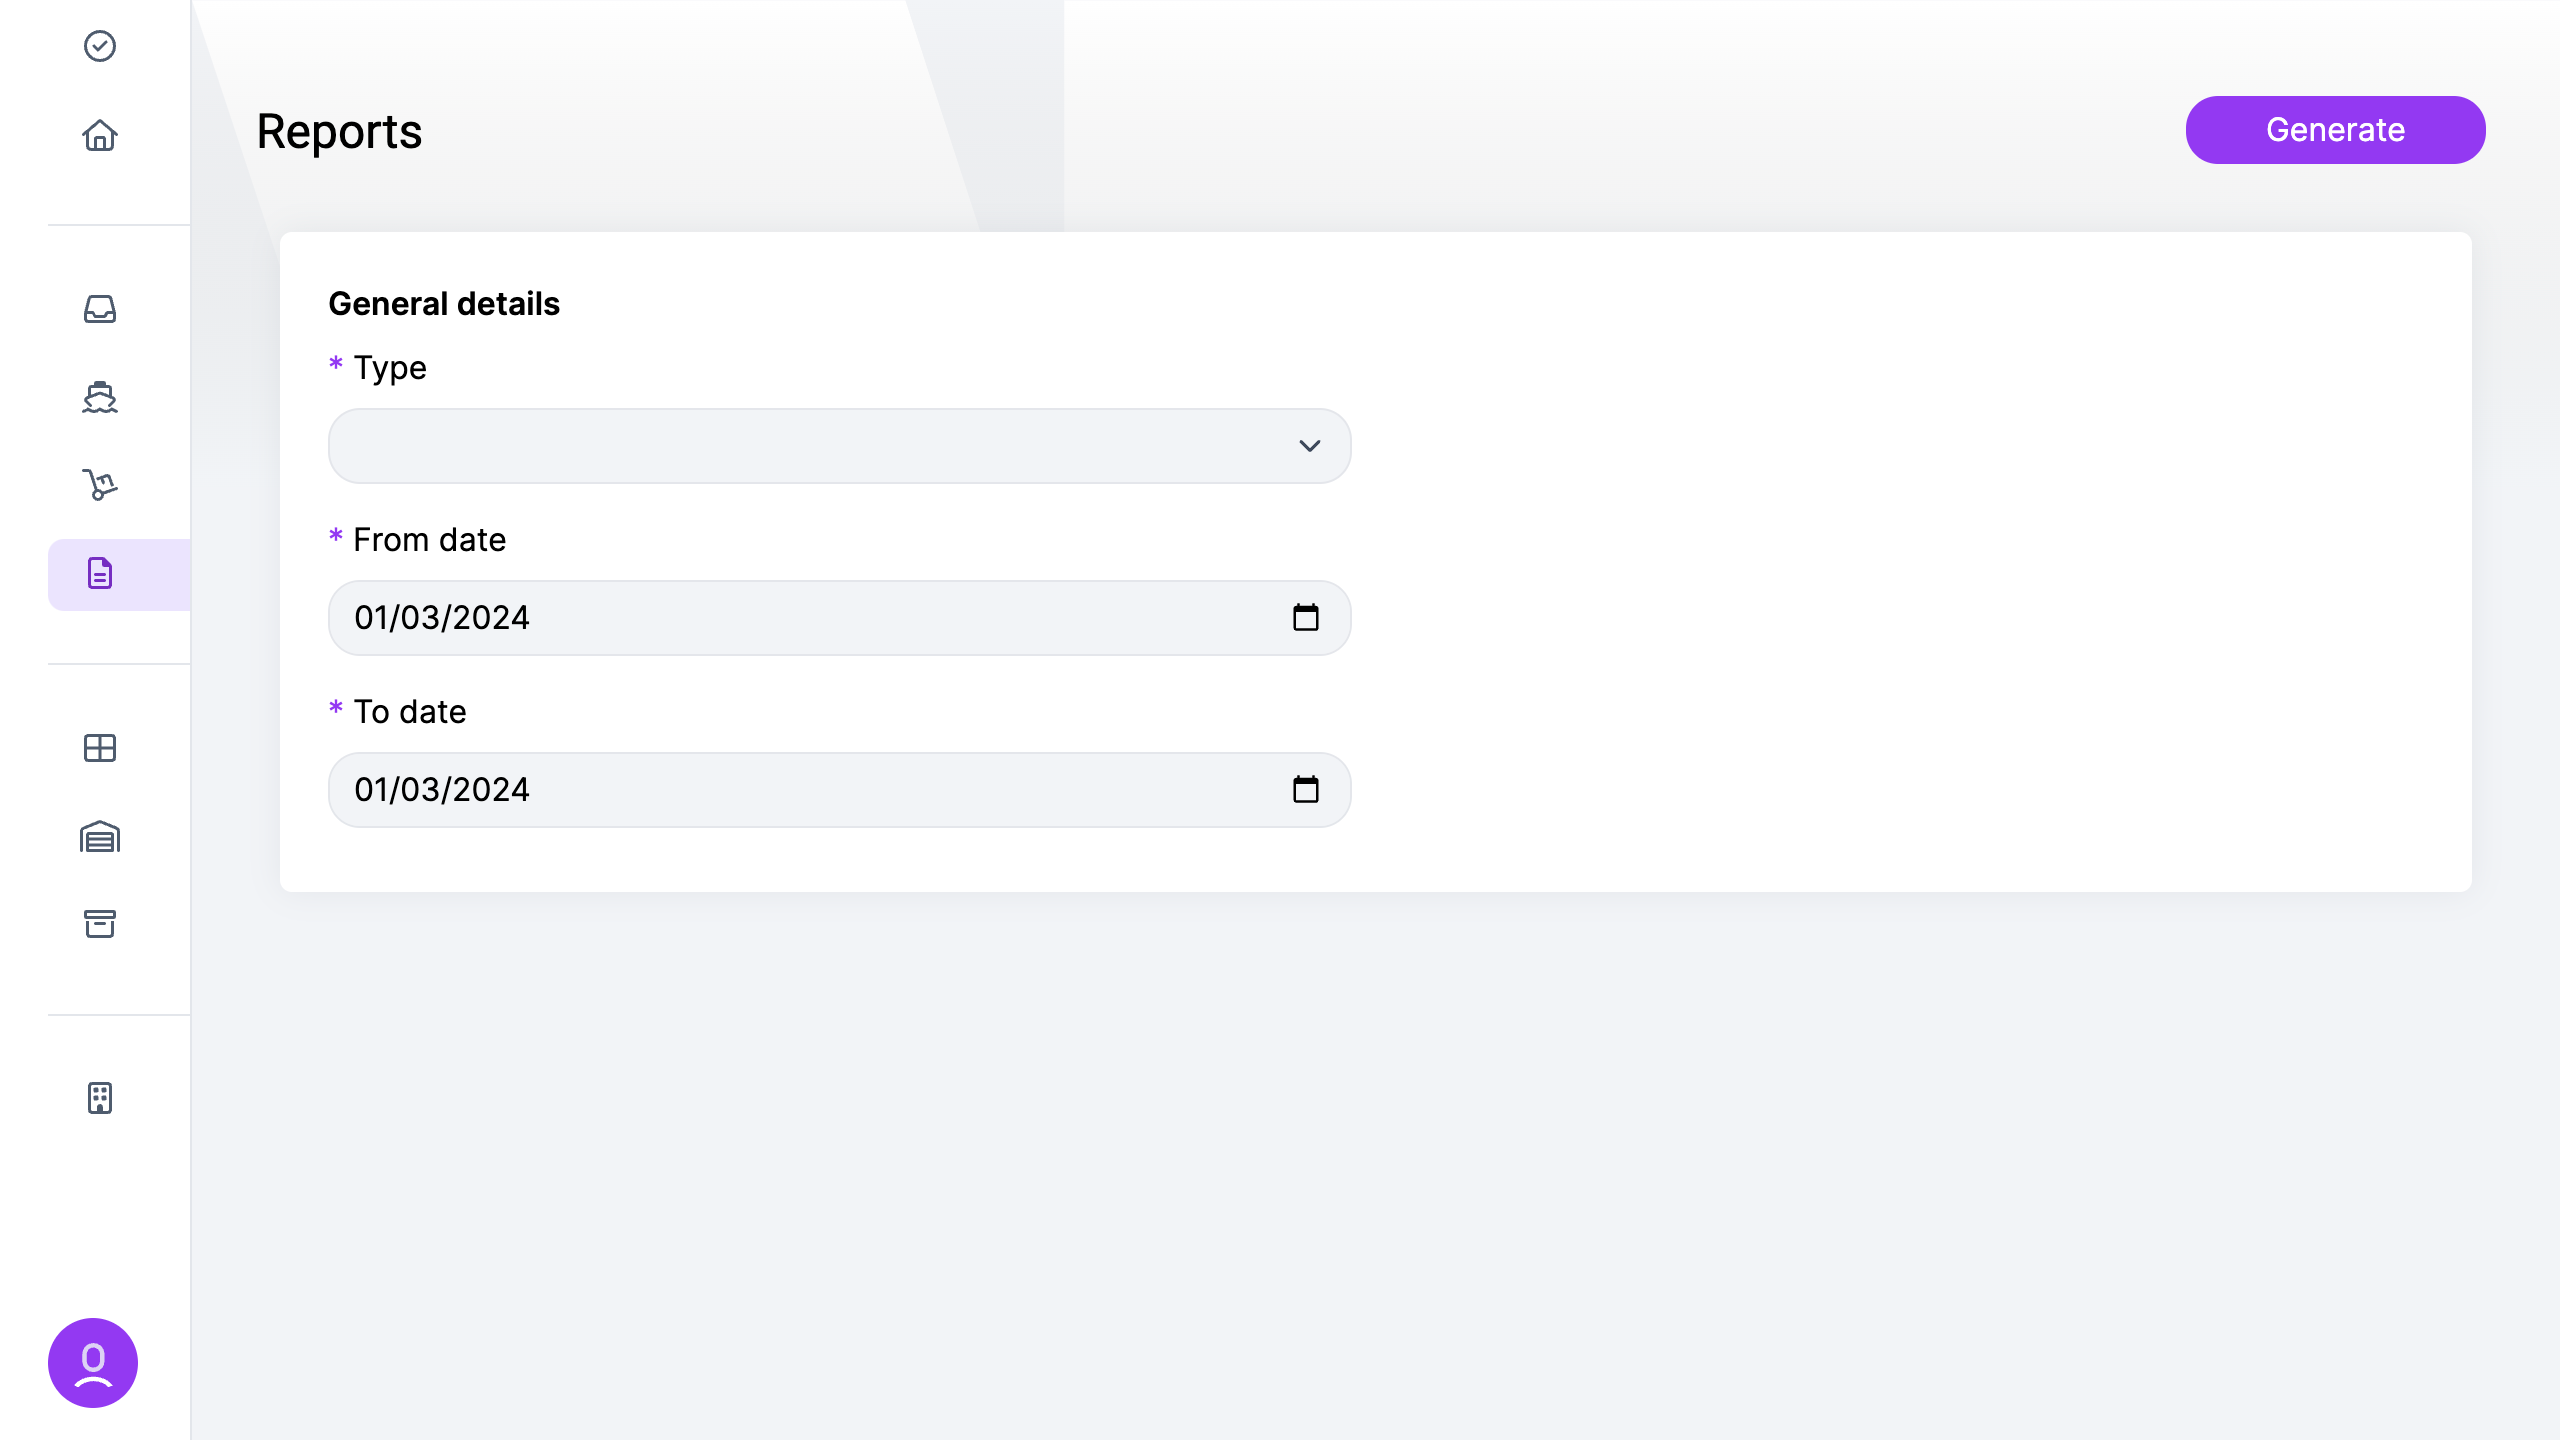
System offers various reports to be exported and download for your specific needs.
To generate reports:
- Go to the “Reports” page.
- Enter the necessary details for the report you wish to generate.
- Click on “Generate”.
Currently, there are three types of reports available:
- Orders
- Shipments
- Cash on Delivery
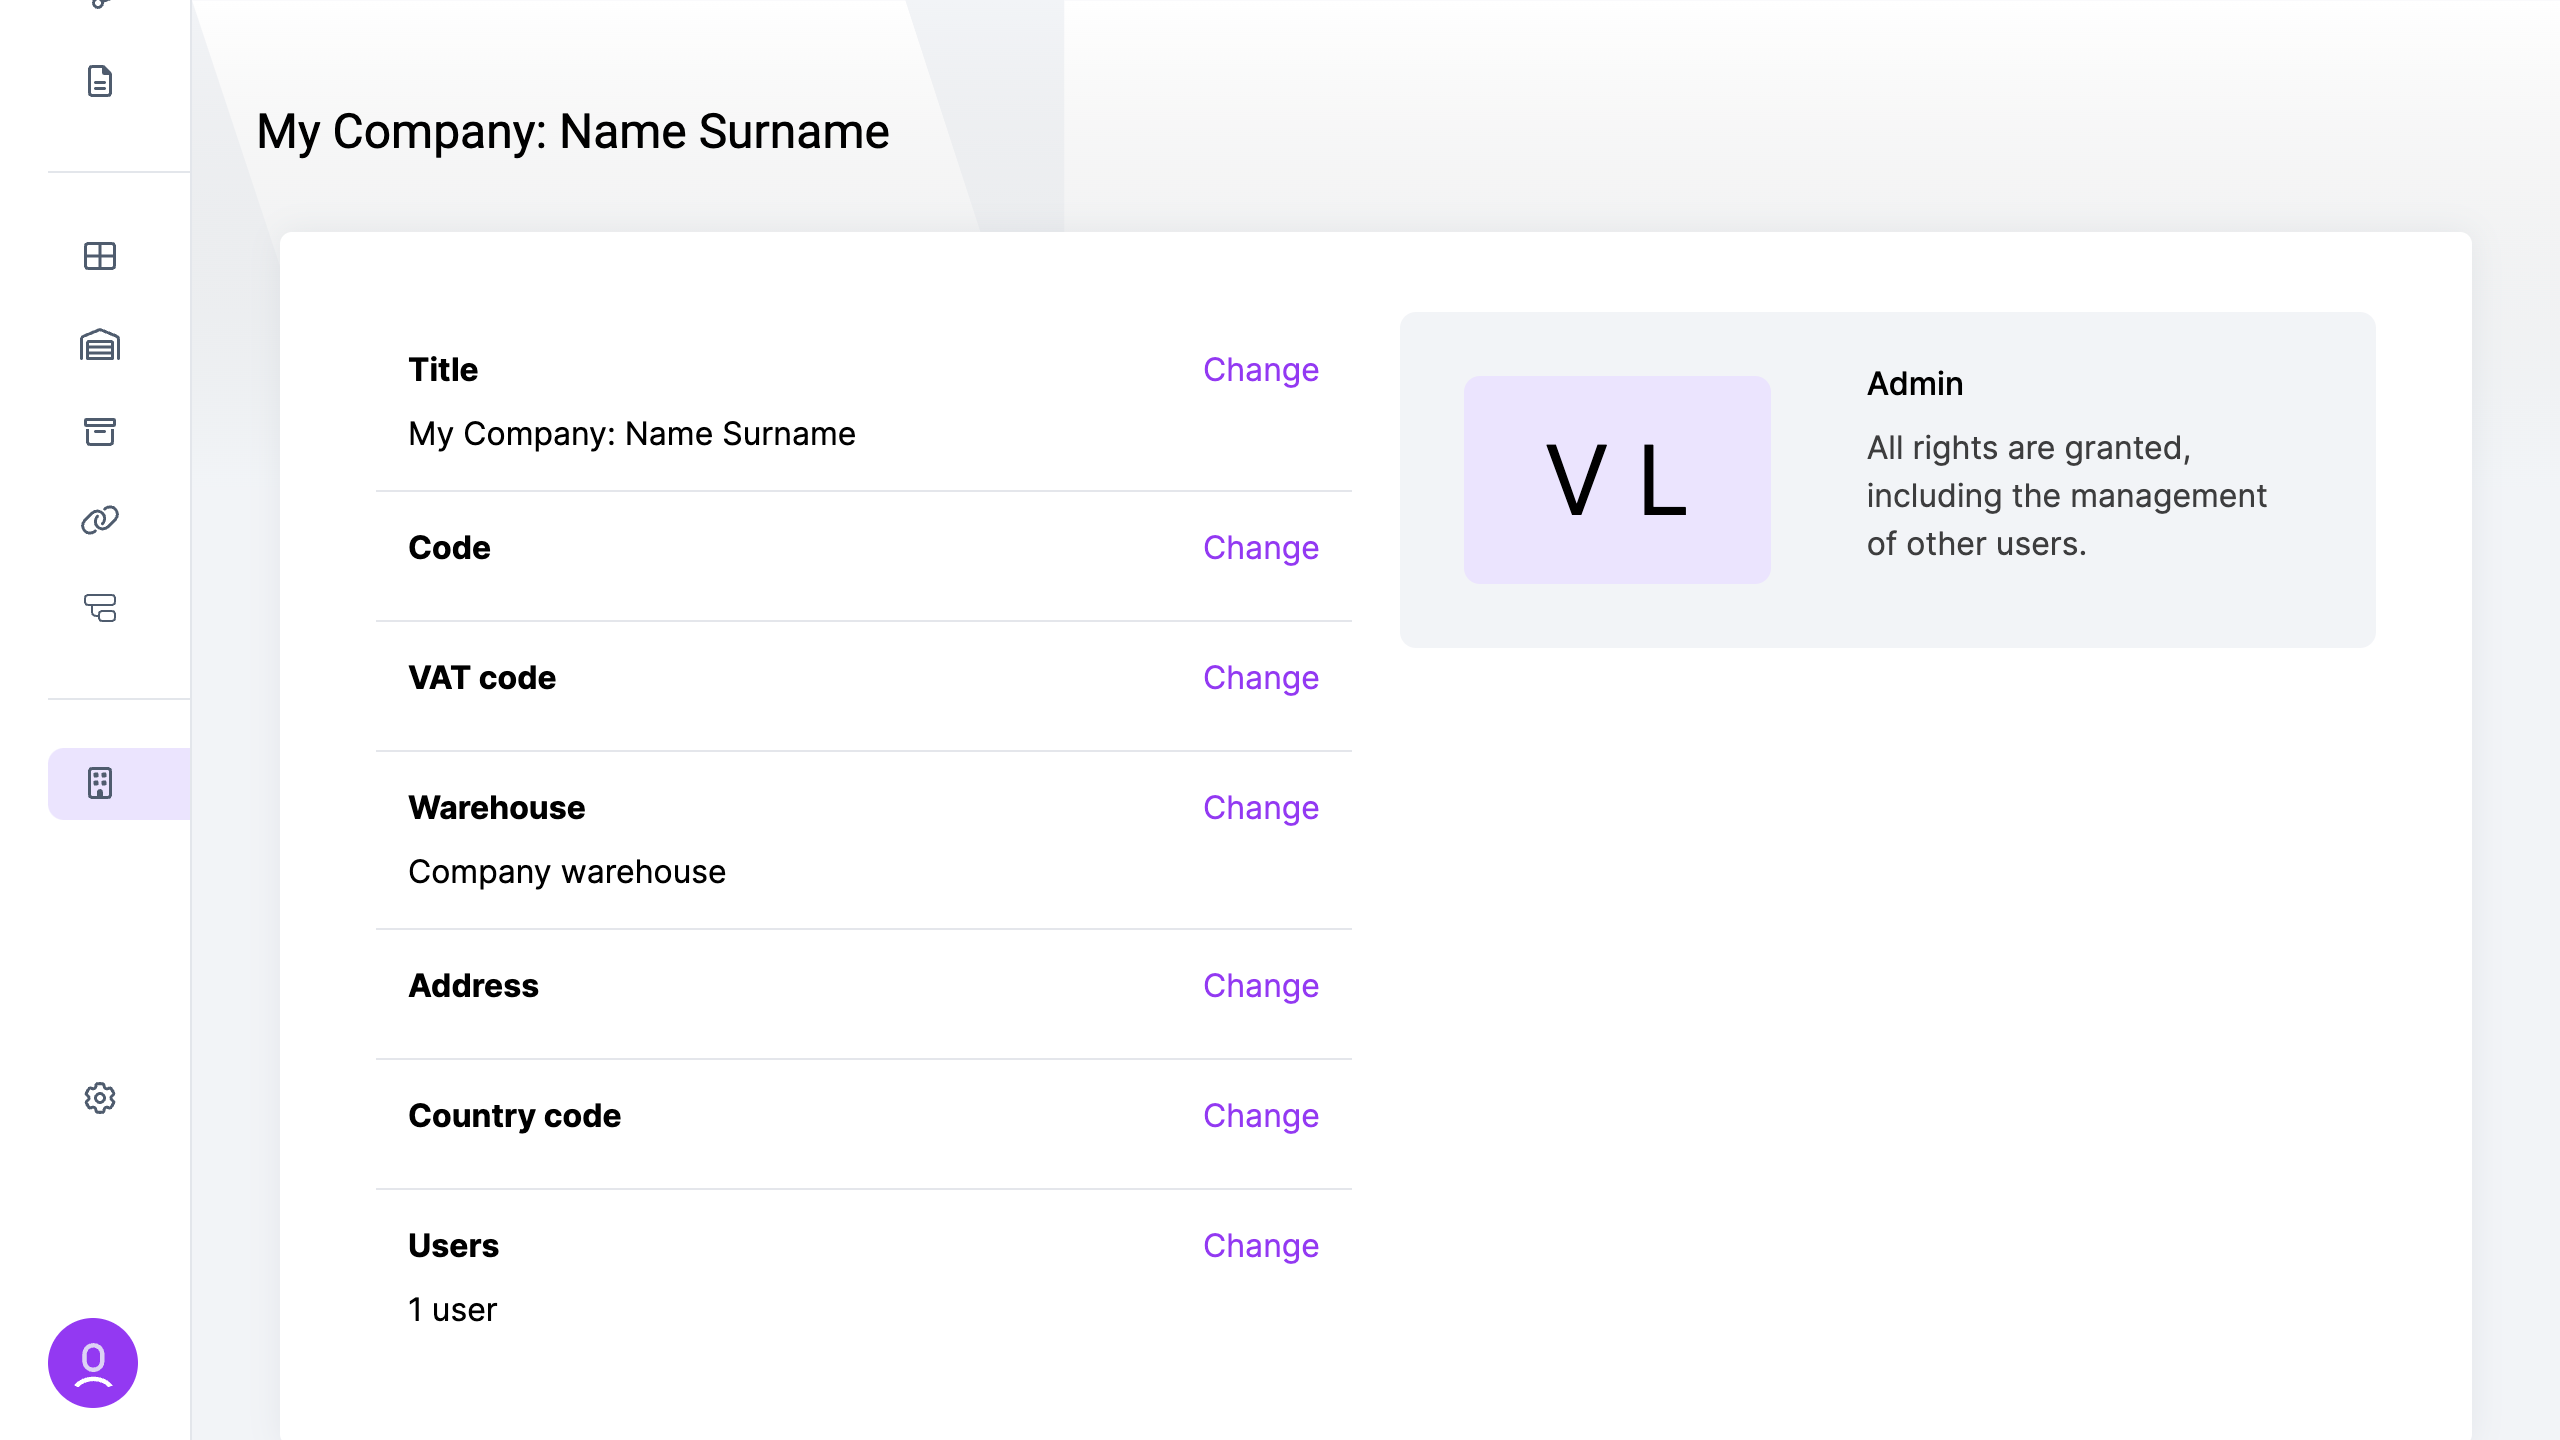
To access the company page, navigate to the “Company” section and select “Company”.
The page contains the following fields:
- Title: The name or title of the company.
- Code: The unique identifier or code assigned to the legal company.
- VAT Code: The Value Added Tax (VAT) identification number for the company.
- Warehouse: The primary warehouse location associated with the company.
- Address: The physical address of the company.
- Country: The country where the company is located.
- Users: Number of users associated with the company.
Order import is an easy way to add more orders at once or import them from another system
- Go to the “Orders” page.
- Click on the import icon located near the “Add” button.
- Download the example file provided.
- Modify the downloaded file by adding your desired address book entries.
- Upload the modified file to the system.
Once added, all orders that pass validation will be imported to the system.

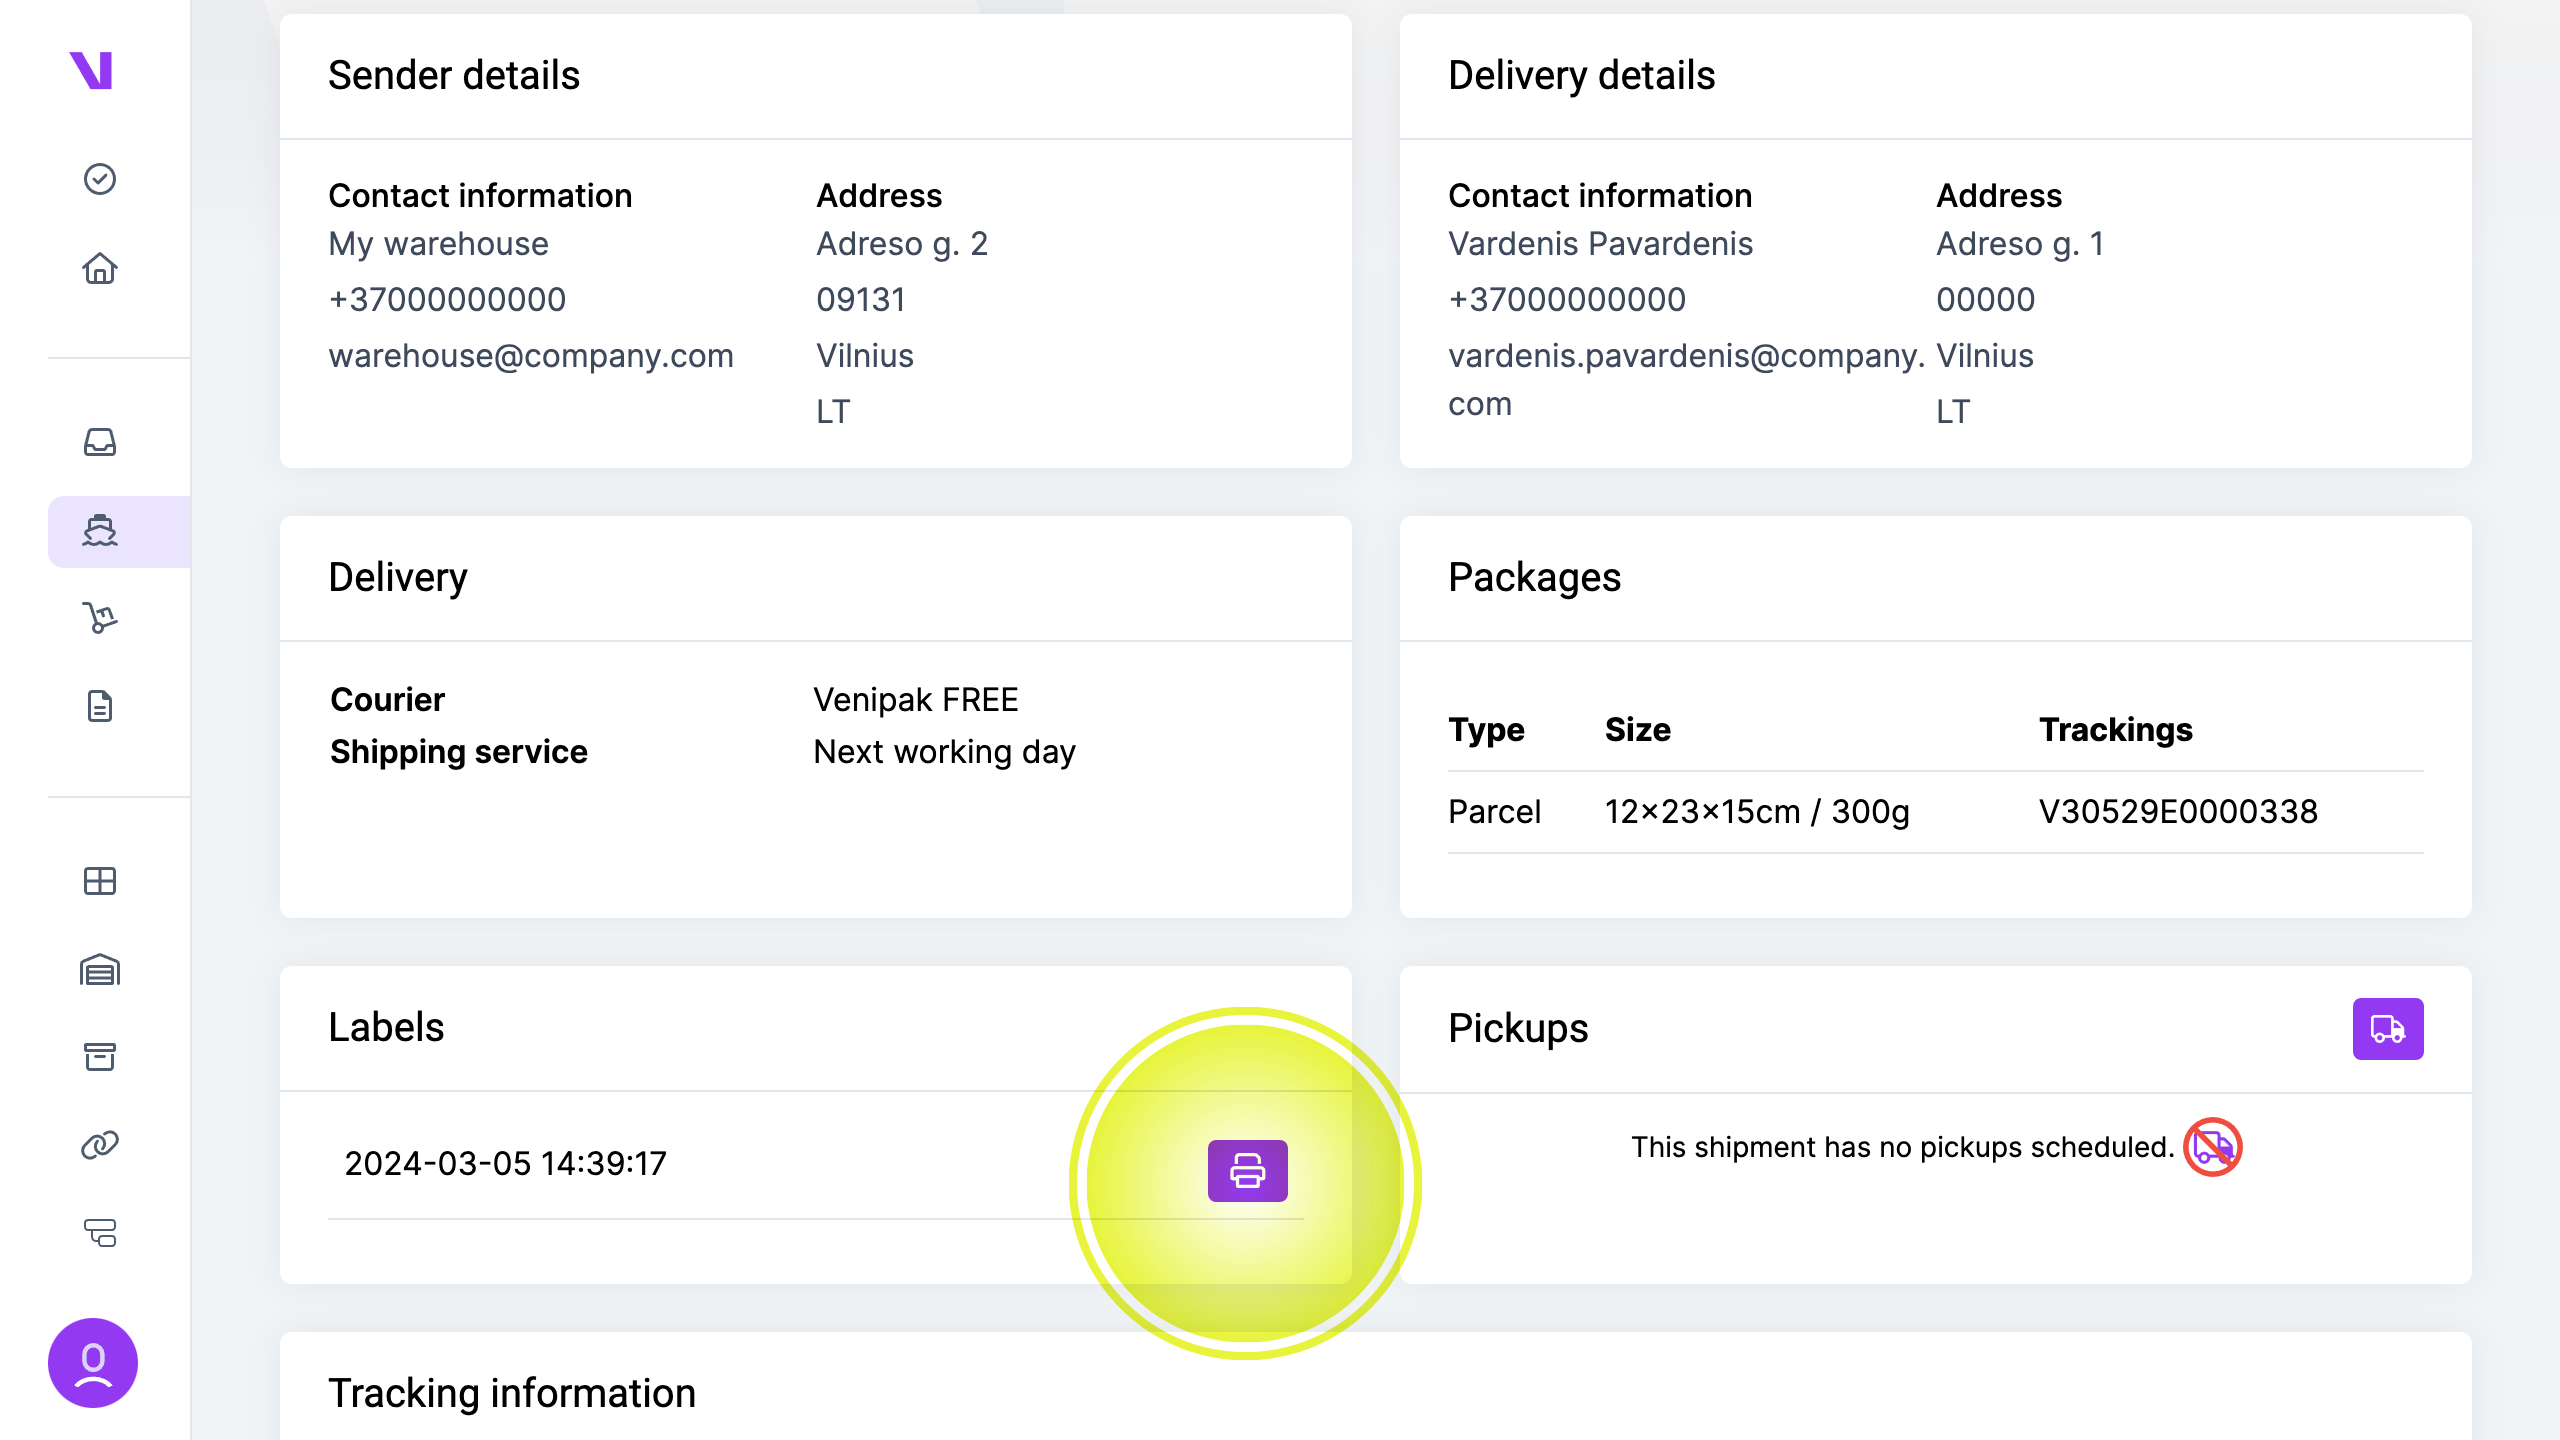
Shipping labels are essential part of shipments.
After an order is created a tracking number(-s) and label(-s) are added to the shipments.
There are 2 ways to download labels:
a) For one shipment:
- Go the “shipments” page
- Click on the shipment you want to download labels for
- Click the printer icon in the “Labels” section
 b) Download multiple labels at one:
- Go the “shipments” page
- Check the checkboxes near shipments you want to download labels for
- From the additional actions menu, choose “Download labels”

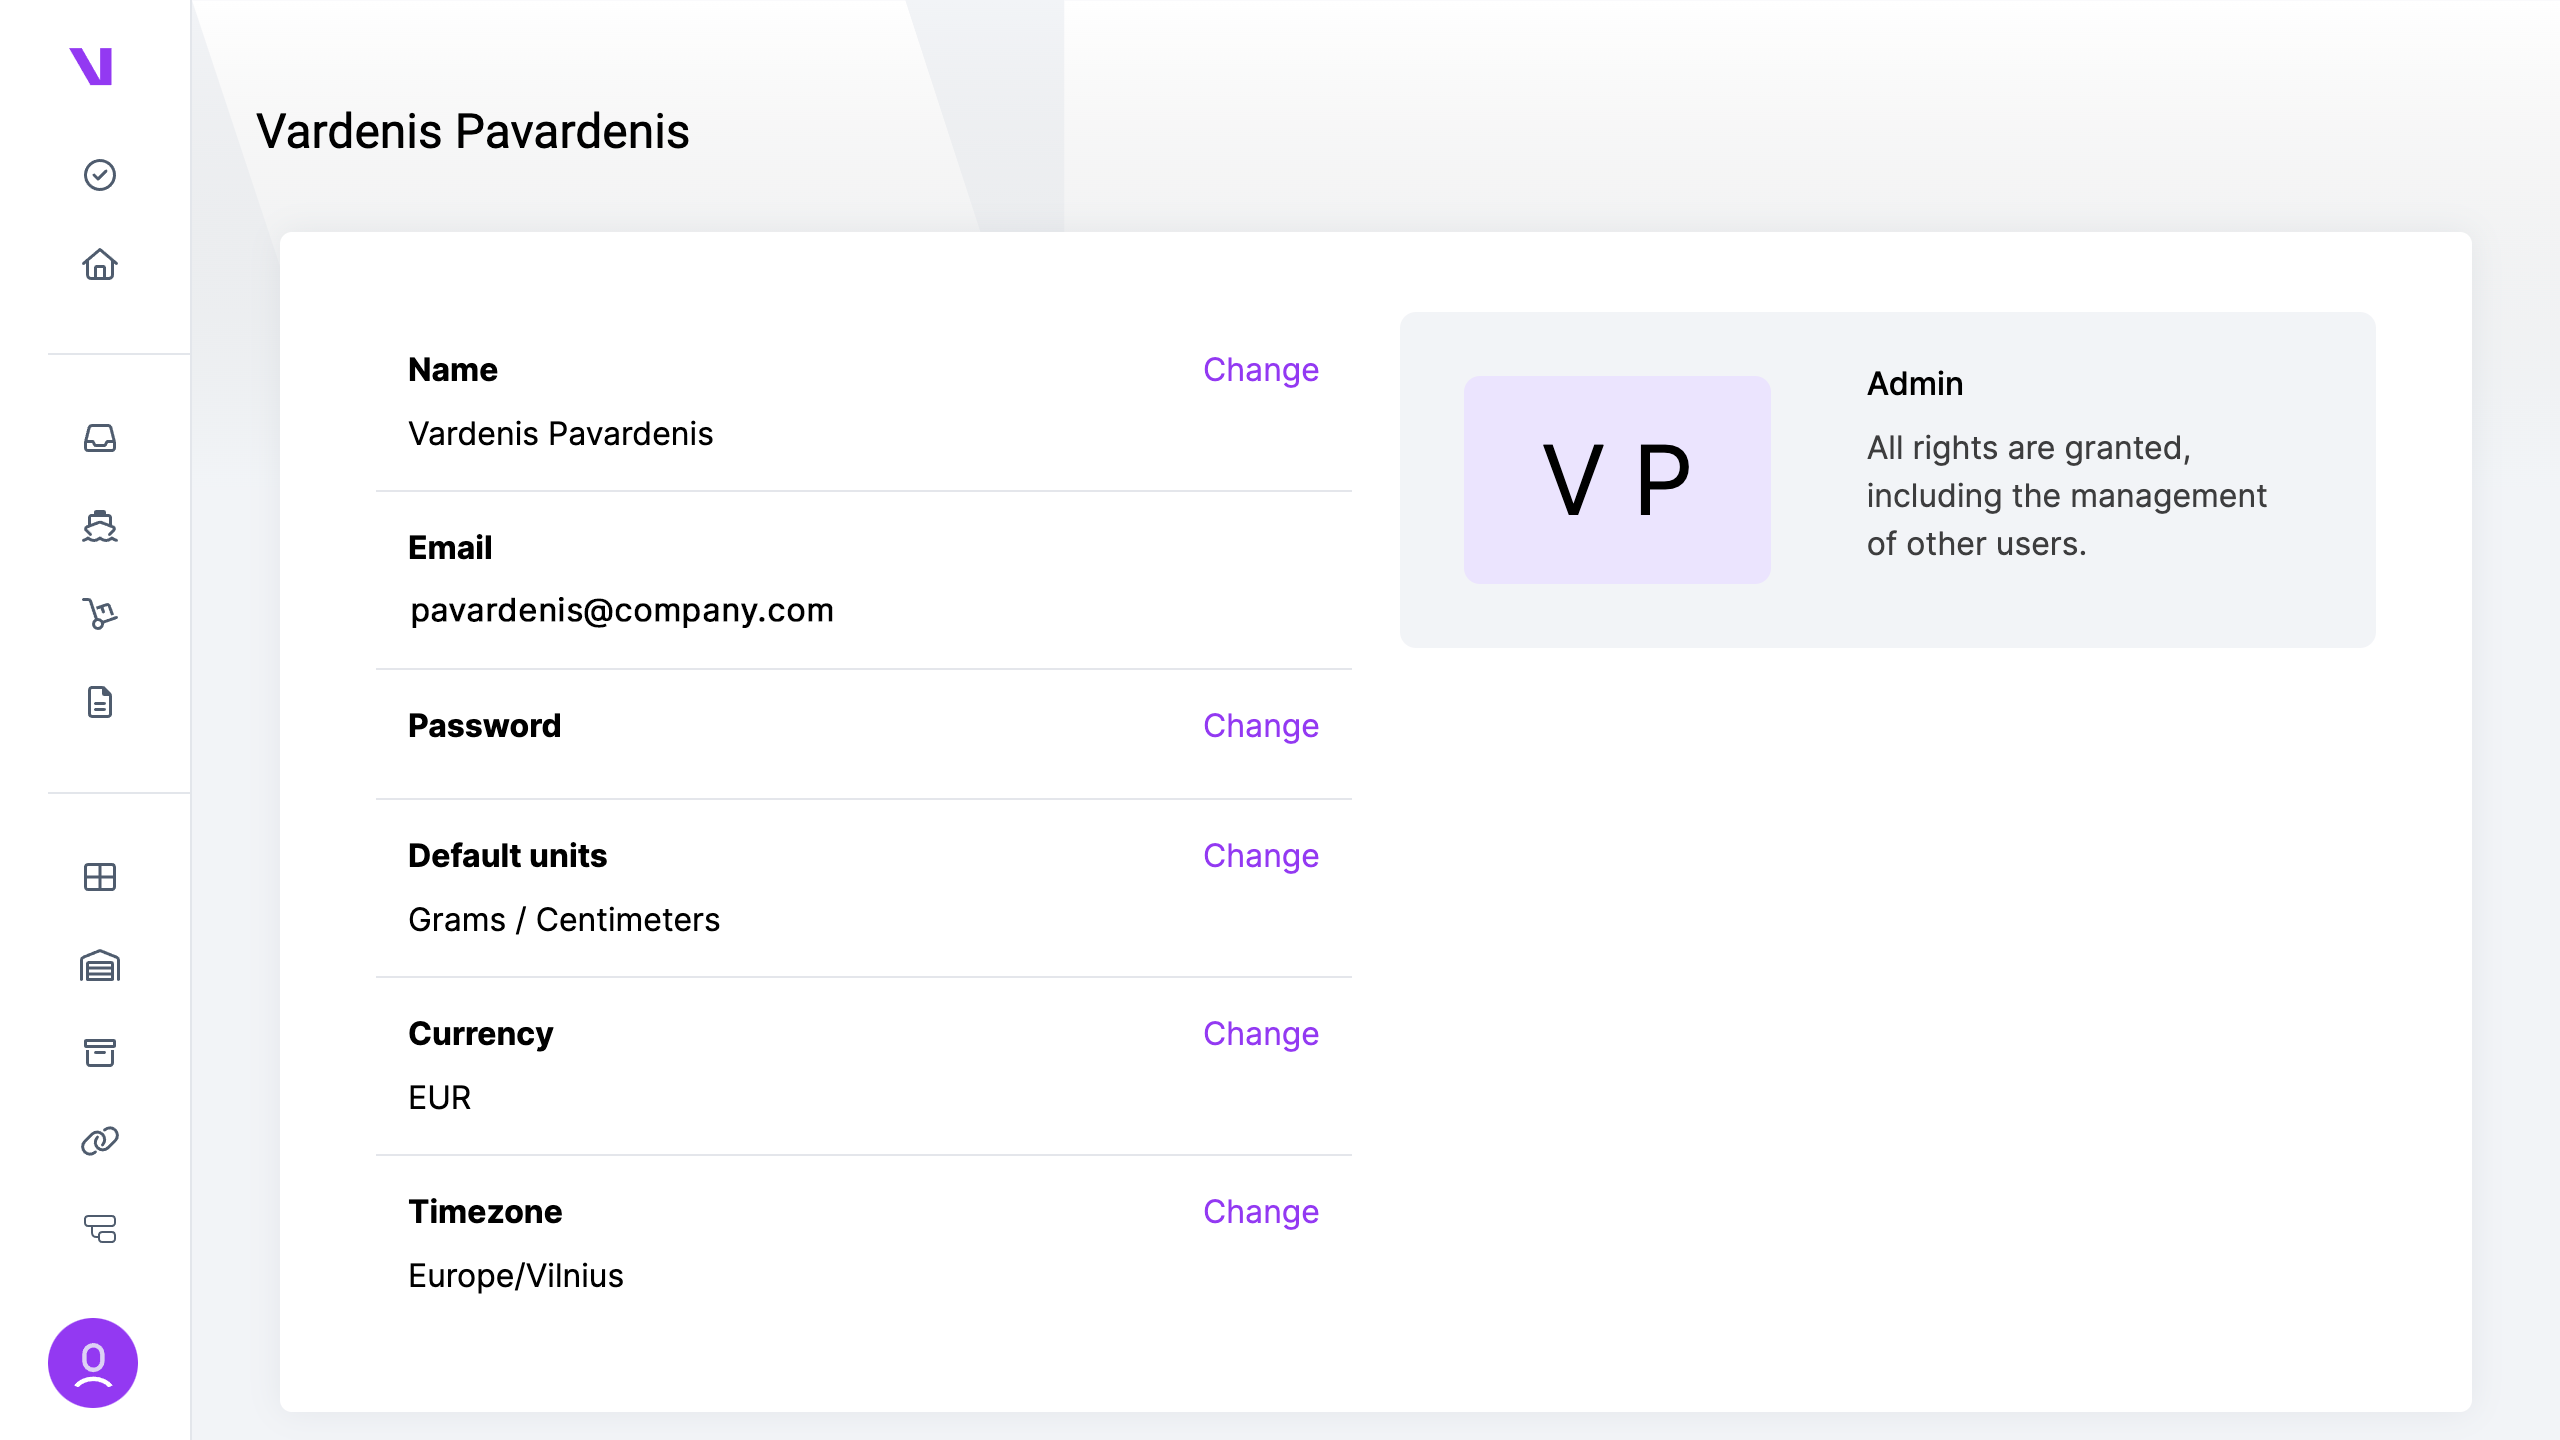
To access your profile, click on the user icon, and then select “Profile”.
The page contains the following fields:
- Name: Your name.
- Email: The email address linked to your profile.
- Password: Ability to change your password.
- Default units: The preferred units of measurement when creating an order.
- Currency: The preferred currency used for financial transactions and displays.
- Timezone: The timezone setting for displaying timestamps and scheduling tasks.
Available weight units:
- Kilograms
- Grams
- Ounches
Available dimensions units:
- Centimeters
- Inches
When shipping international shipments or cross continents you will be require to add additional information:
- Products information
You must specify the products that are inside the shipments with an description, HS code and country of manufacture. - Content description. A simple description of what is inside the order.
- Content value. A monetary value of the worth of the order.
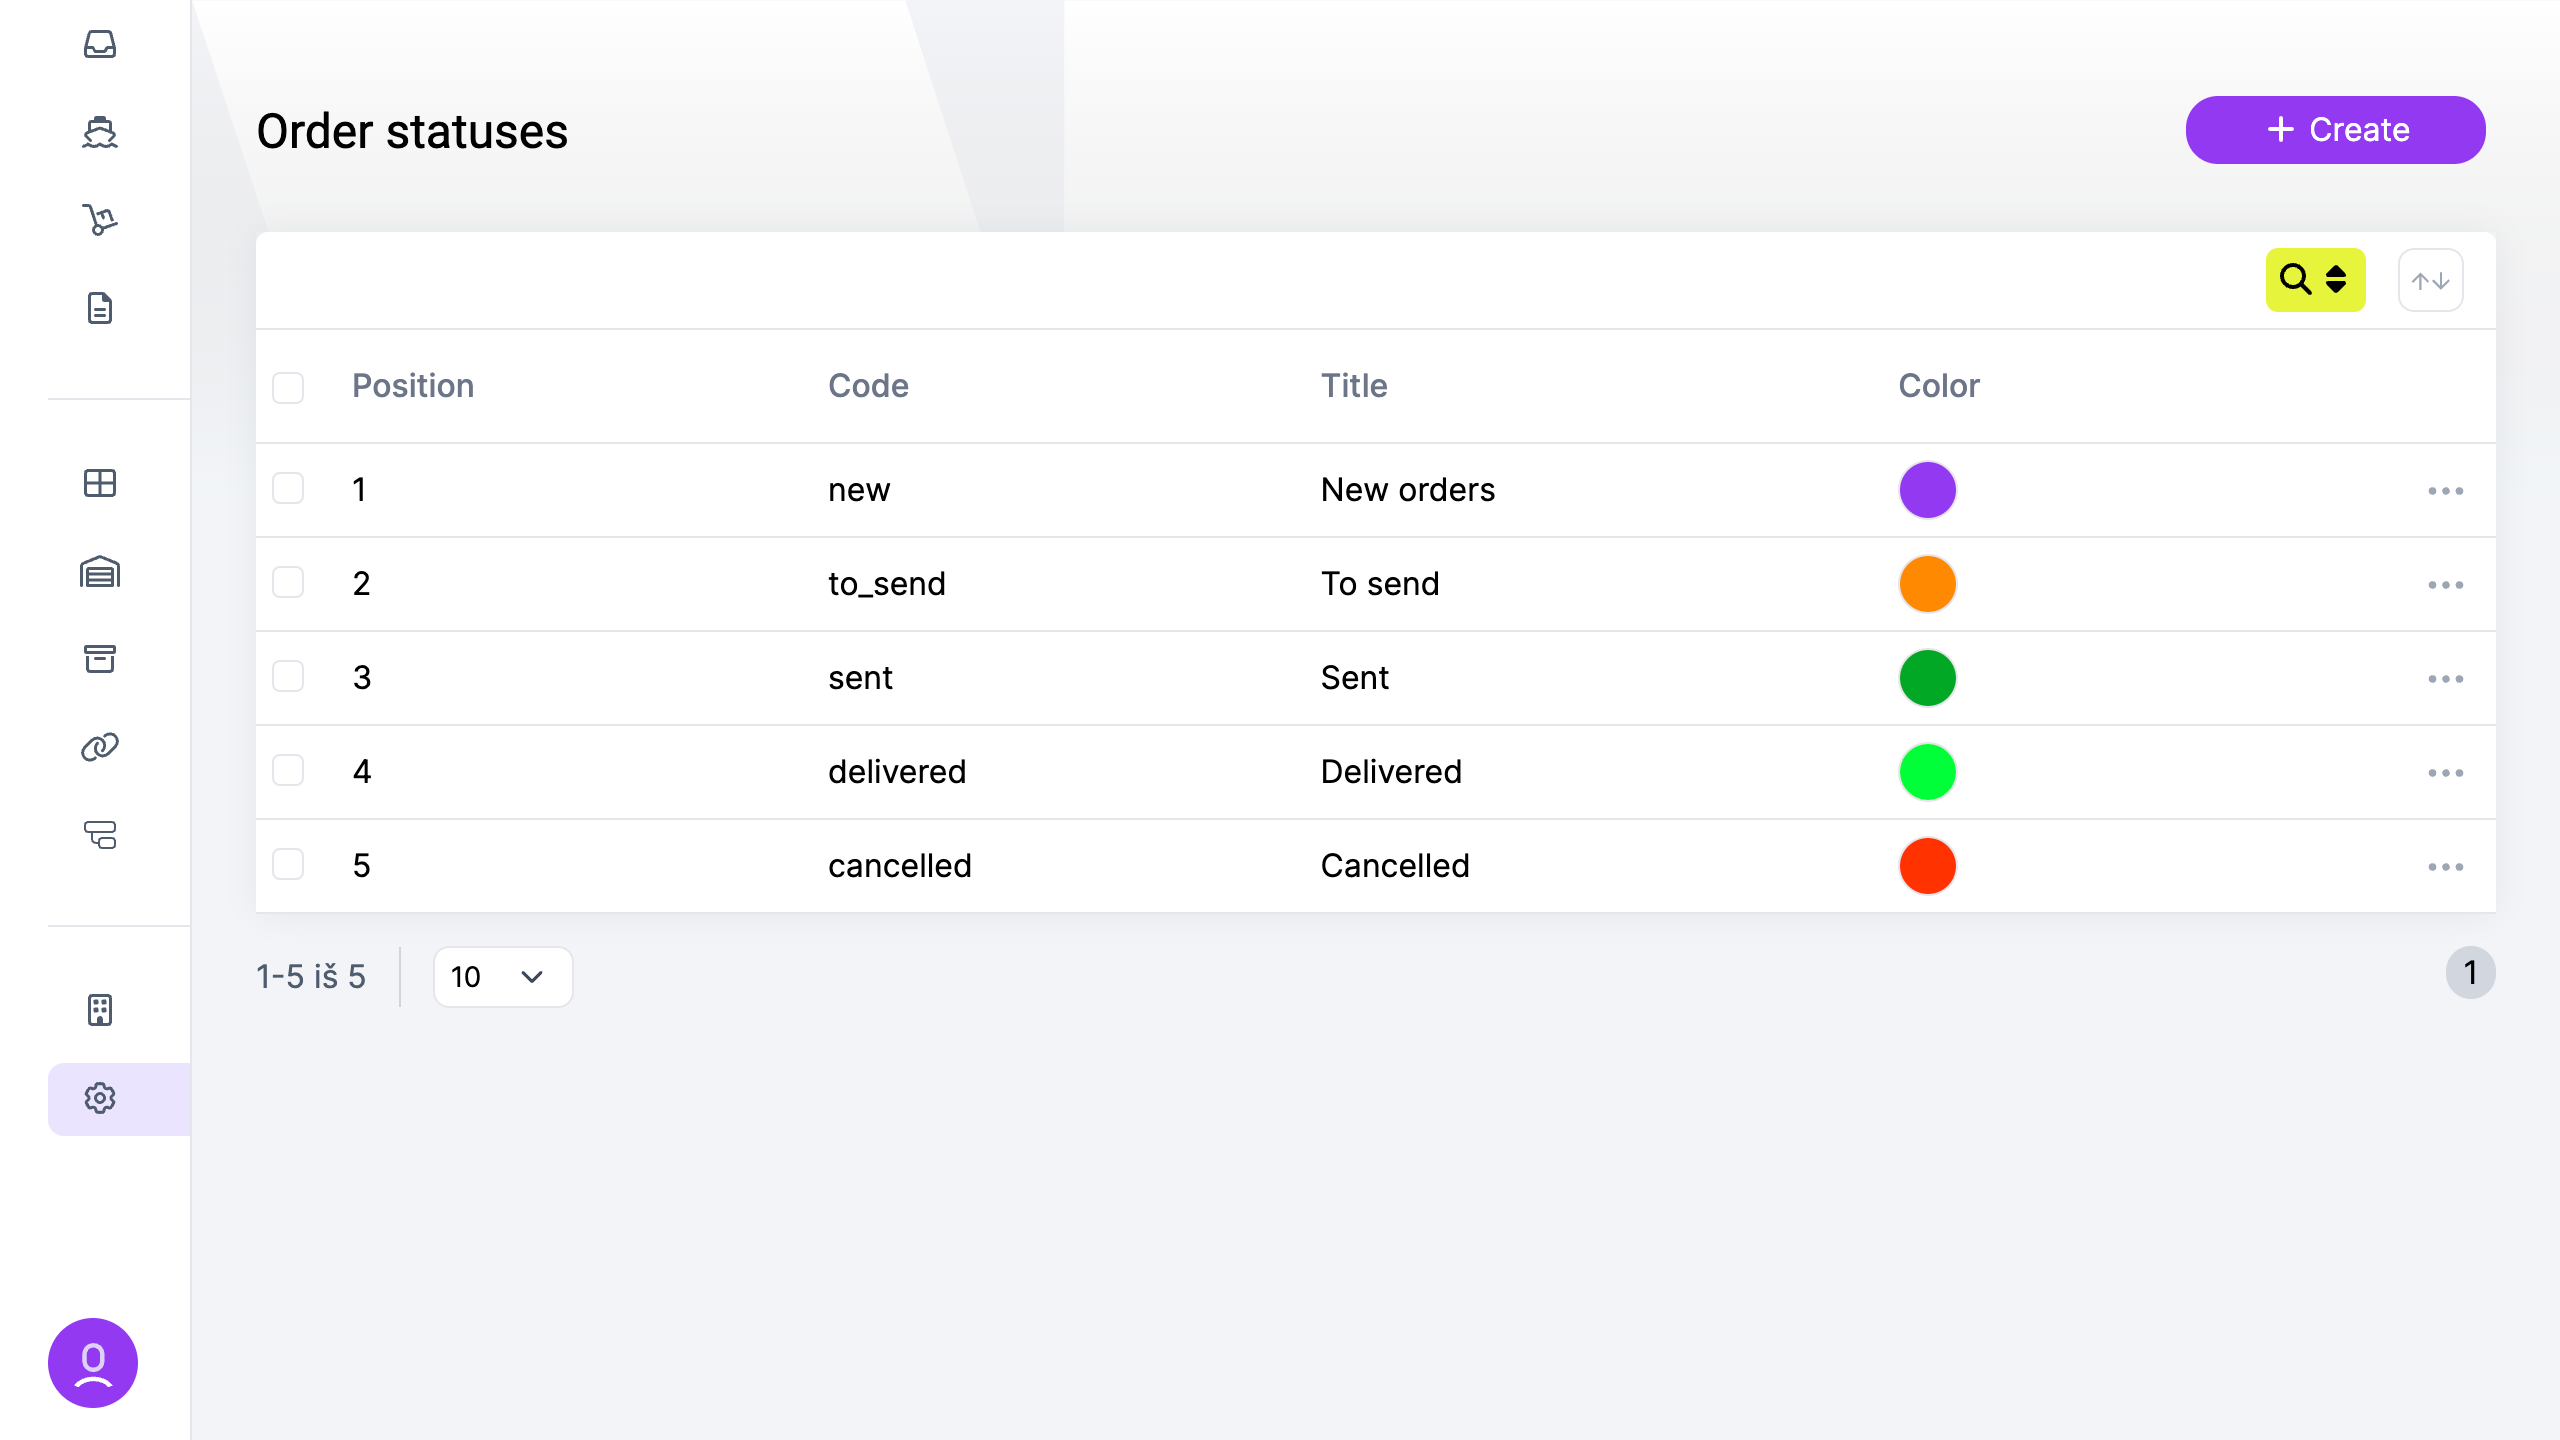
The system enables you to configure and customize order statuses as needed, allowing you to create your own logic and implement custom actions using automations.
The default order statuses are:
- New Orders
- To Send
- Sent
- In Transit
- Delivered
- Cancelled
You have the flexibility to delete all statuses except for the “New Orders” status, giving you full control over the order management process.
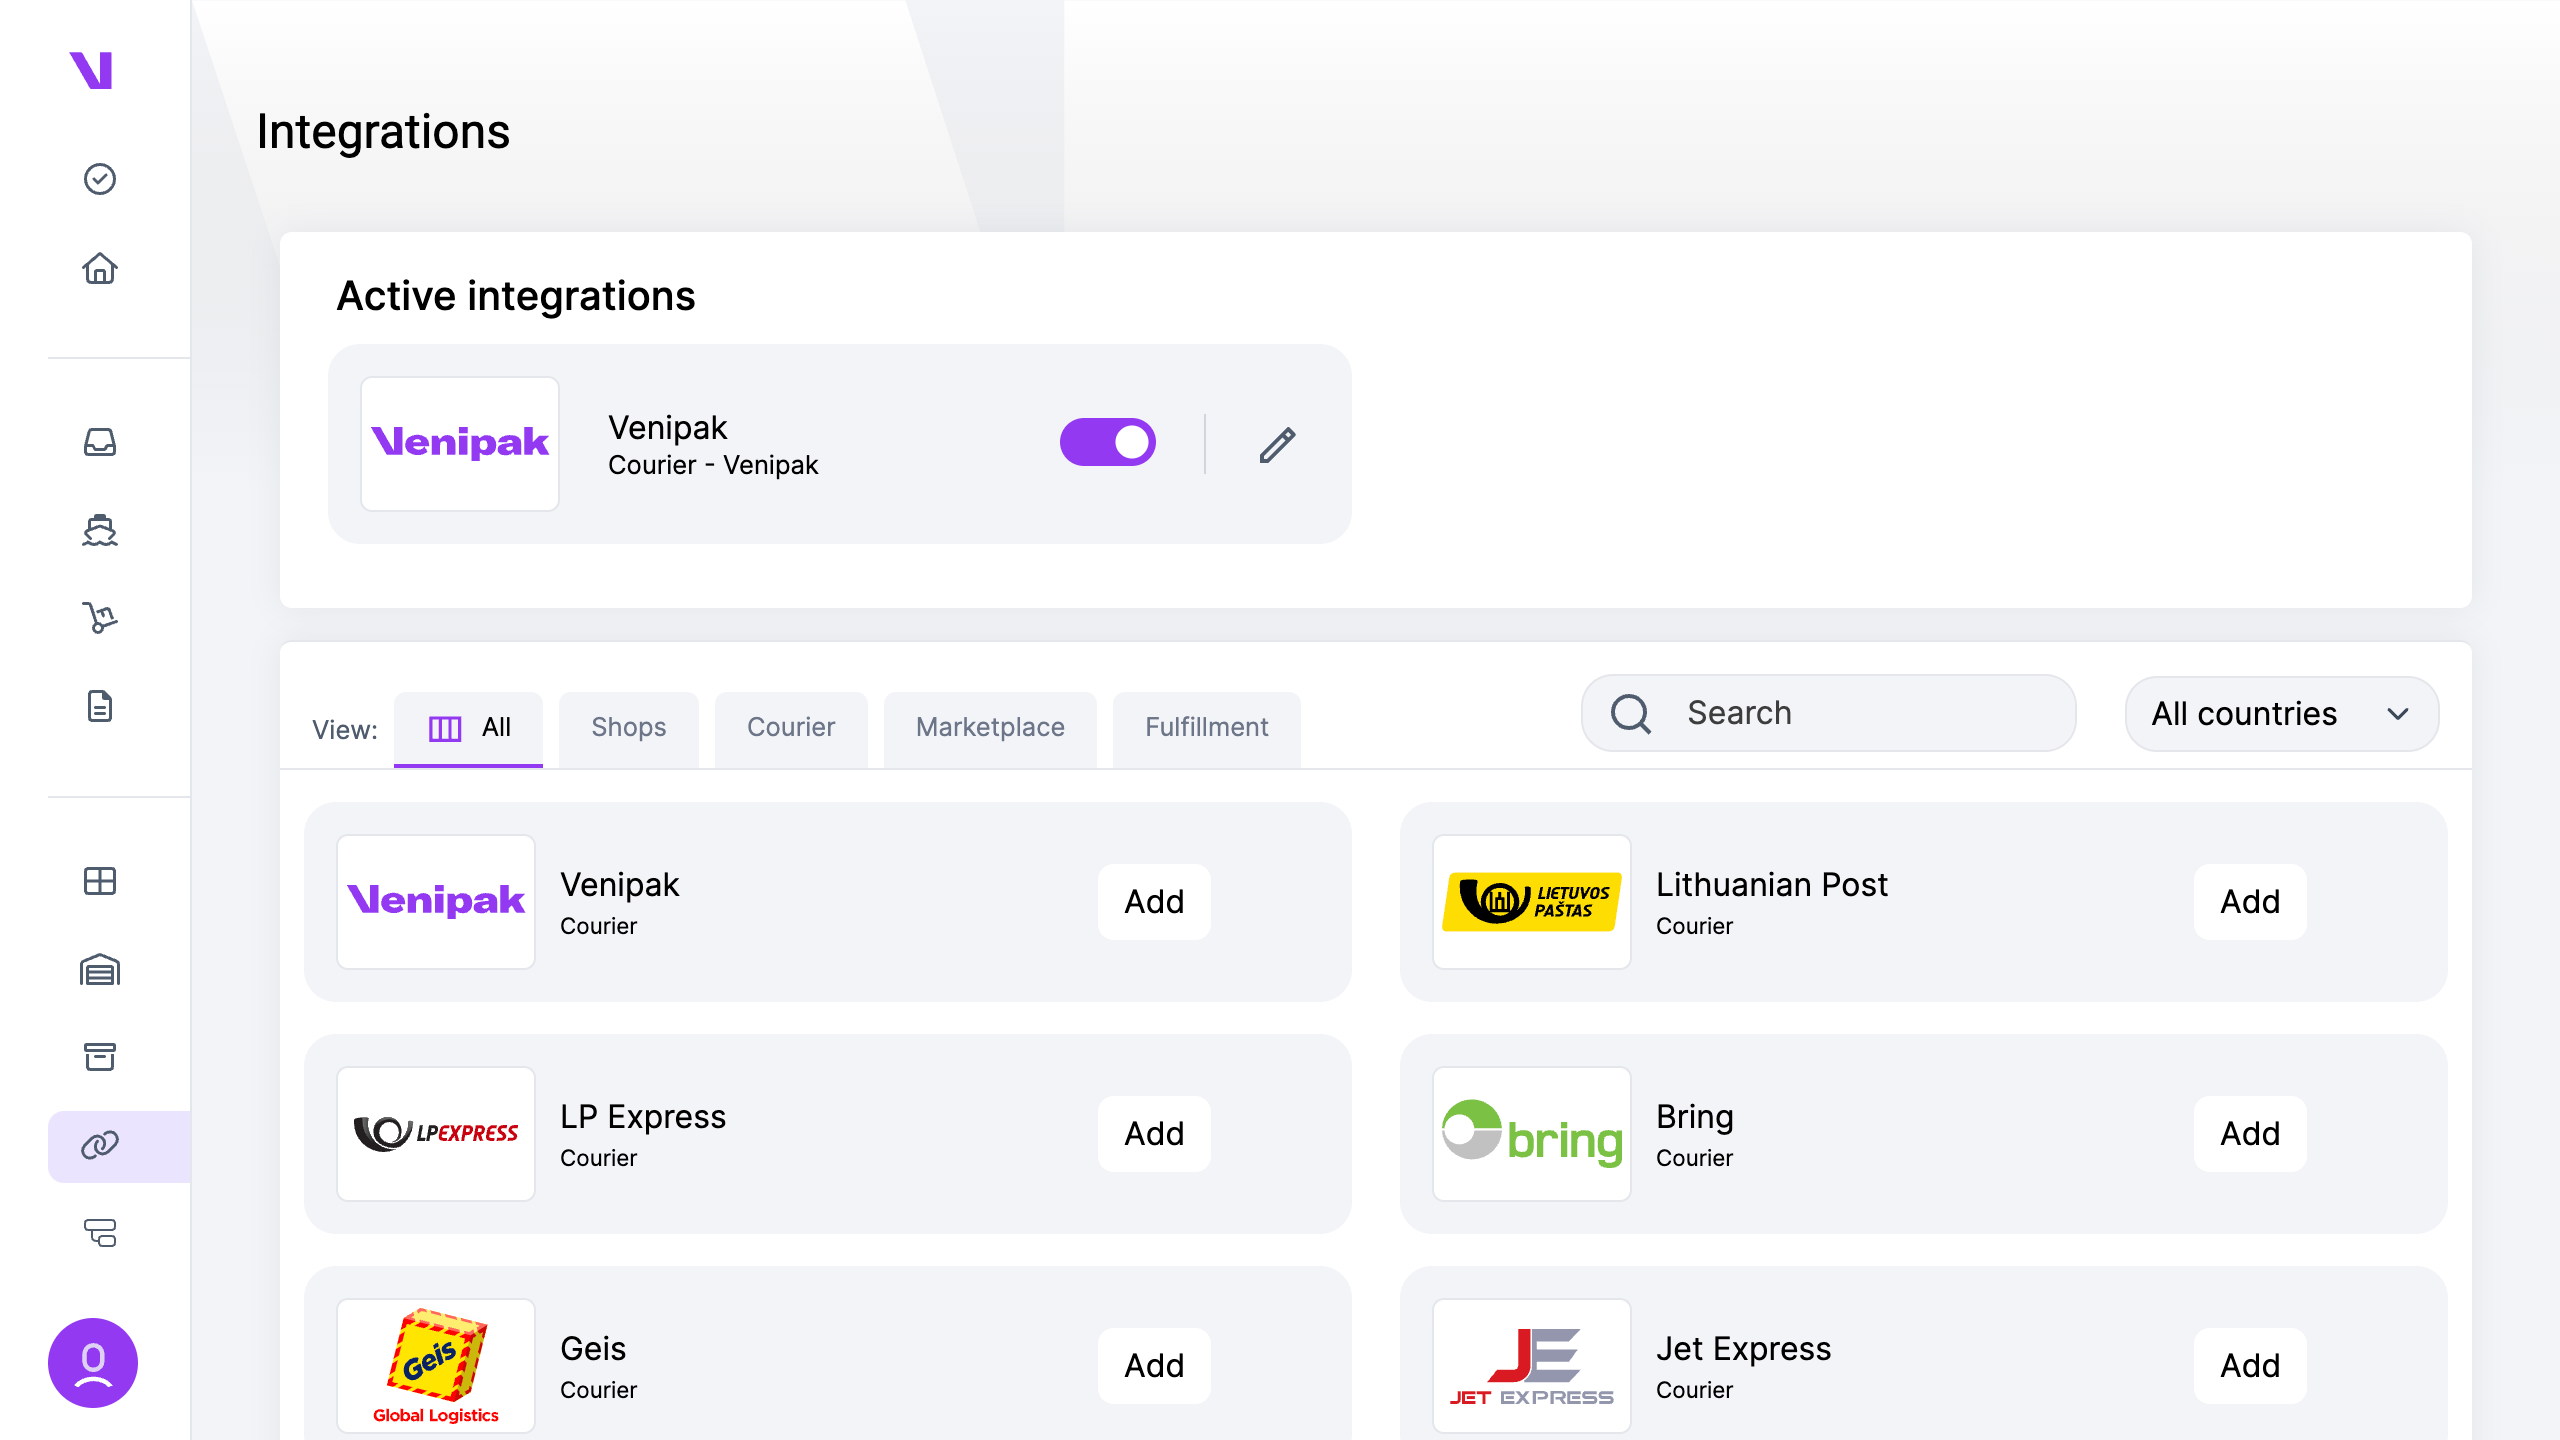
The system integrates with various third-party services to expand its functionality and cater to diverse business needs.
Currently, these integrations are categorized into four main categories:
- Couriers: Integration with shipping and courier services allows for streamlined order fulfillment and tracking, enhancing logistics operations.
- Shops: Integration with e-commerce platforms enables faster order processing, shipment creation and returning the sent shipment tracking code back to the e-commerce platform.
- Marketplaces: Integration with online marketplaces enables faster order processing, shipment creation and returning the sent shipment tracking code back to the e-commerce platform.
- Fulfillment: Integration with fulfillment services optimizes order processing and shipping logistics, ensuring efficient and timely delivery to customers.
These integrations make the system more powerful, helping businesses work better in today’s digital world.
When creating an order, you’ll choose from various shipping methods, including couriers, pickup types, and delivery options, each with its own timeframe and cost.
For each shipping method, you’ll see relevant details if applicable:
- Courier
- Pickup Type (Courier Pickup, Parcel Locker Drop-off)
- Delivery Type (Courier Delivery or Other Various Types)
- Delivery Time
- Price

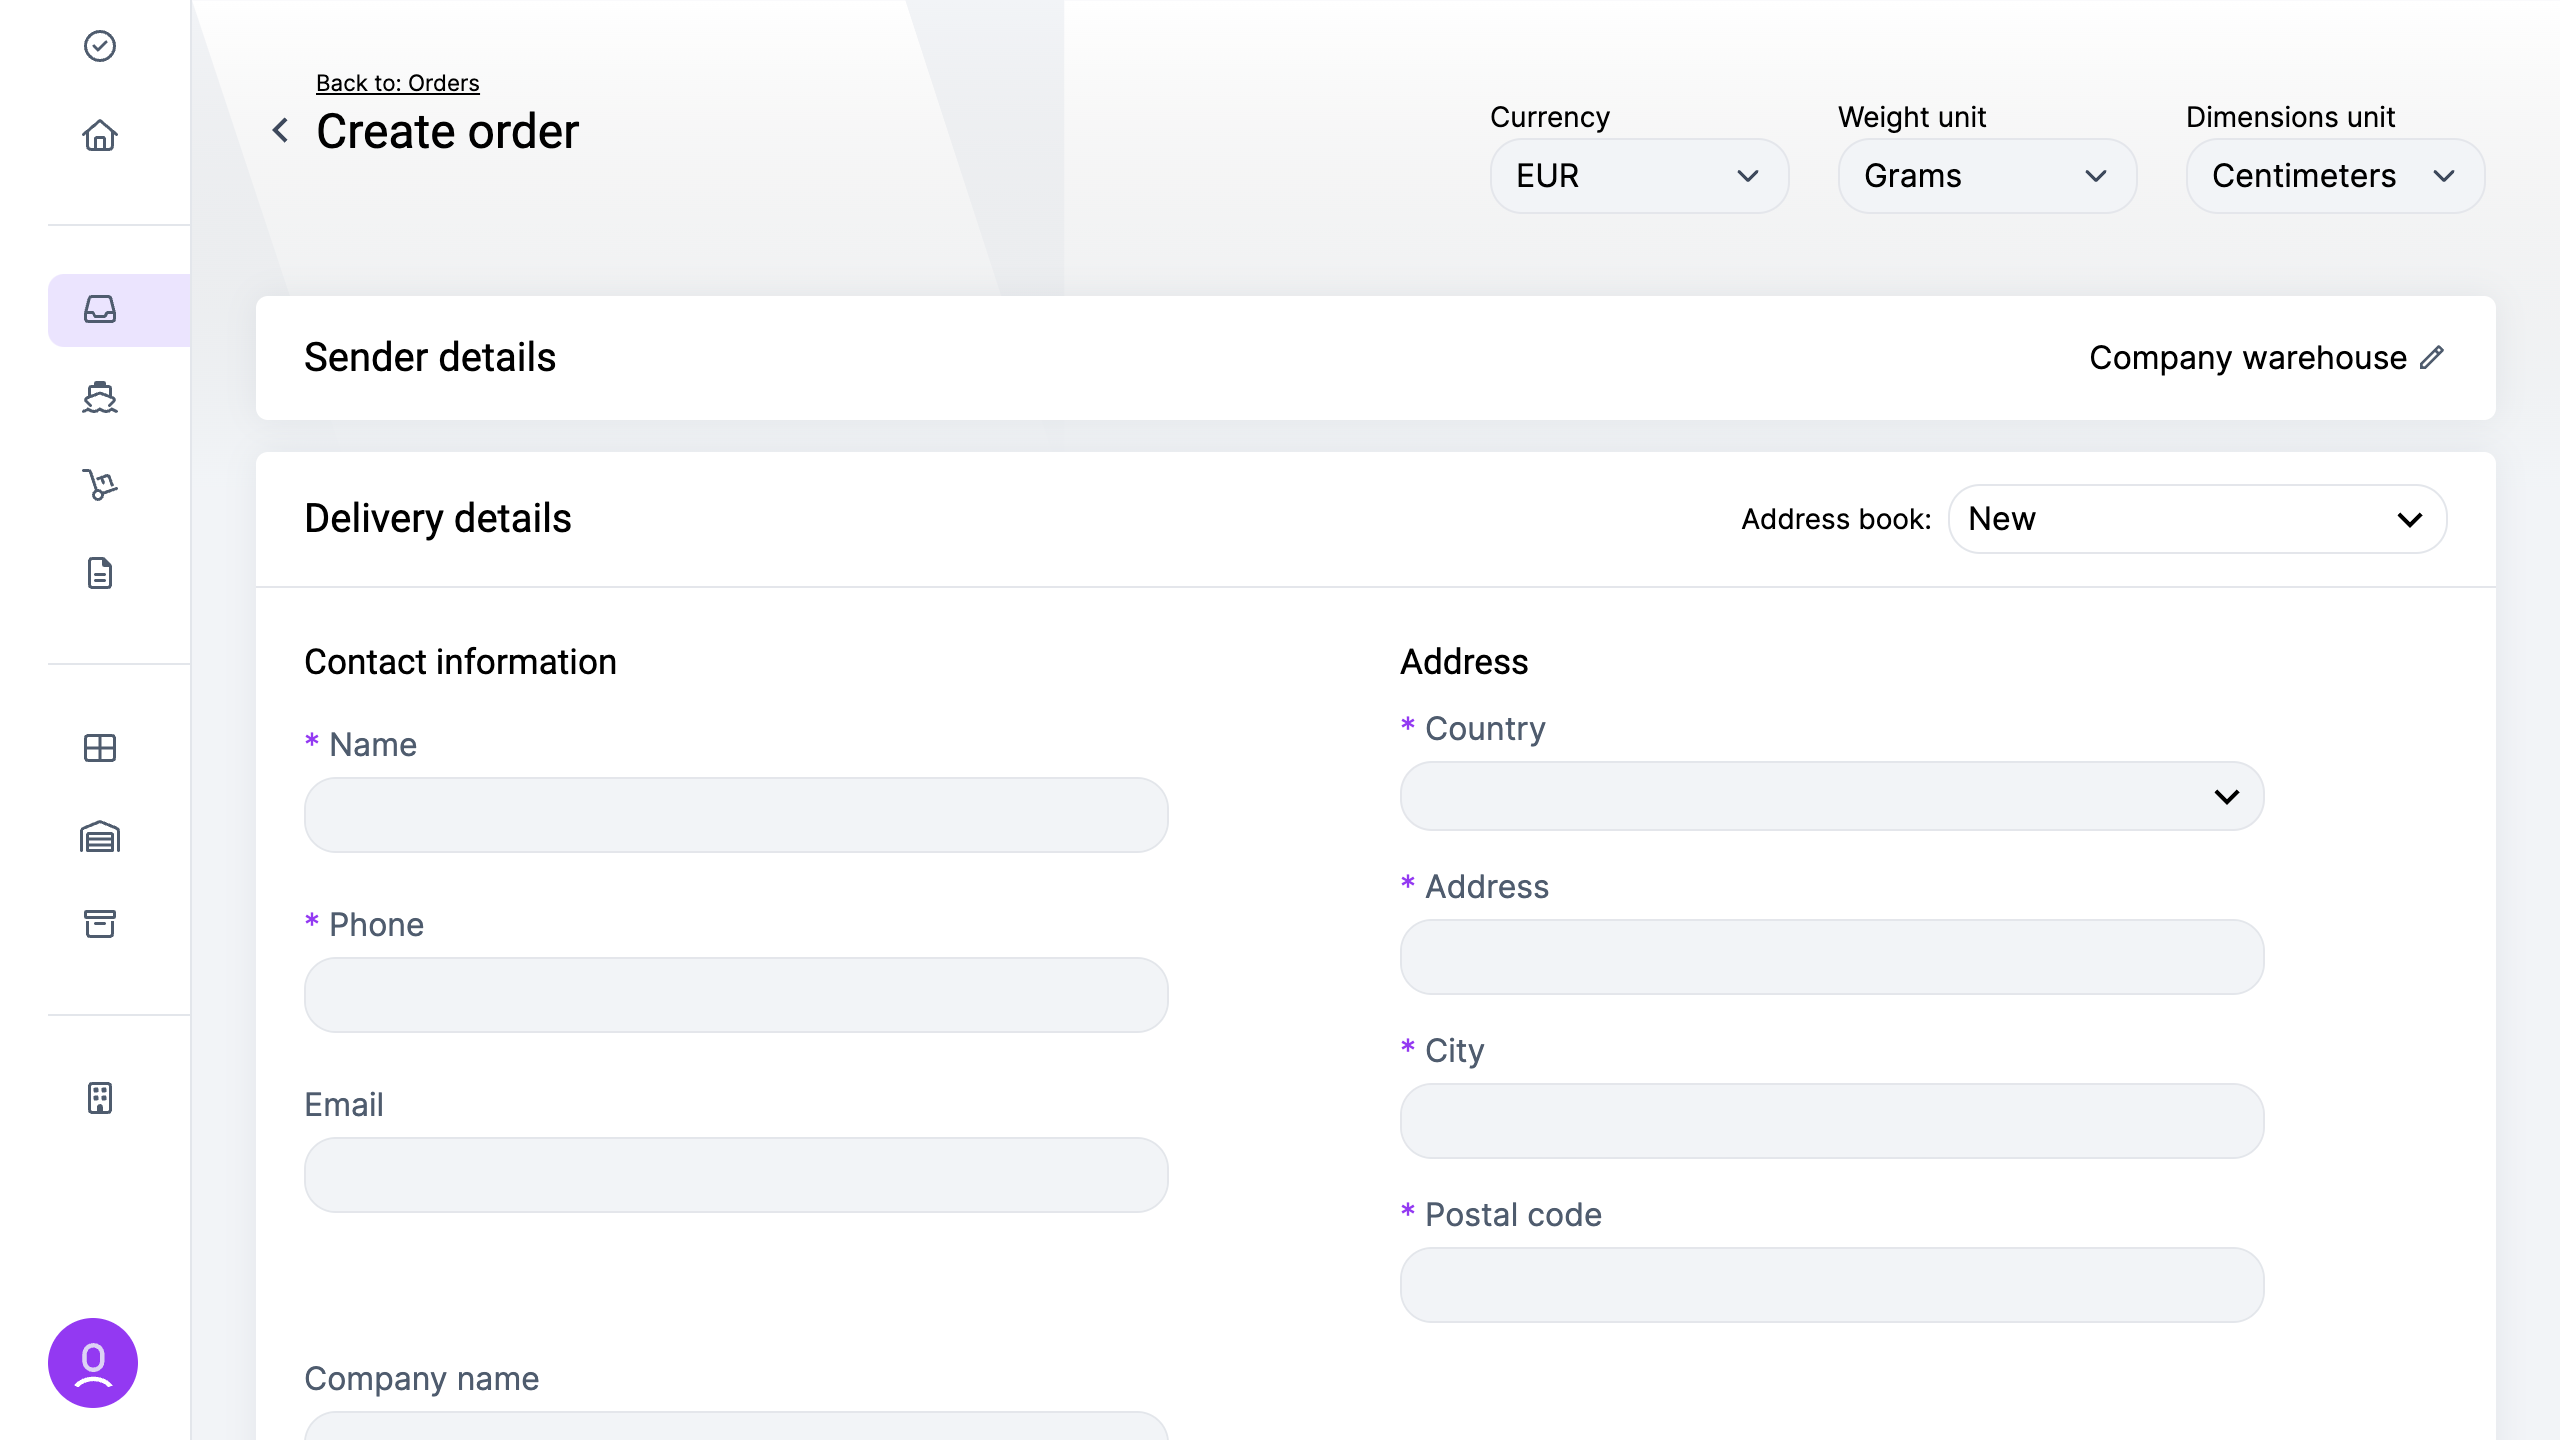
The system centers on the order as its main component, containing all necessary details for shipment processing.
An Order contains all relevant information regarding items to be shipped, while a Shipment includes the same details as an order but also features acceptance by the courier and tracking numbers, along with shipment labels.
To create an order:
- Go to the “Orders” page.
- Click “Create.”
- Optionally, modify the default warehouse designated for sending shipments related to this order.
- Input desired delivery details or select from the address book.
- Enter packages information, specifying the package type (parcel, pallet, documents, envelope).
- Choose the shipping method that best suits your requirements.
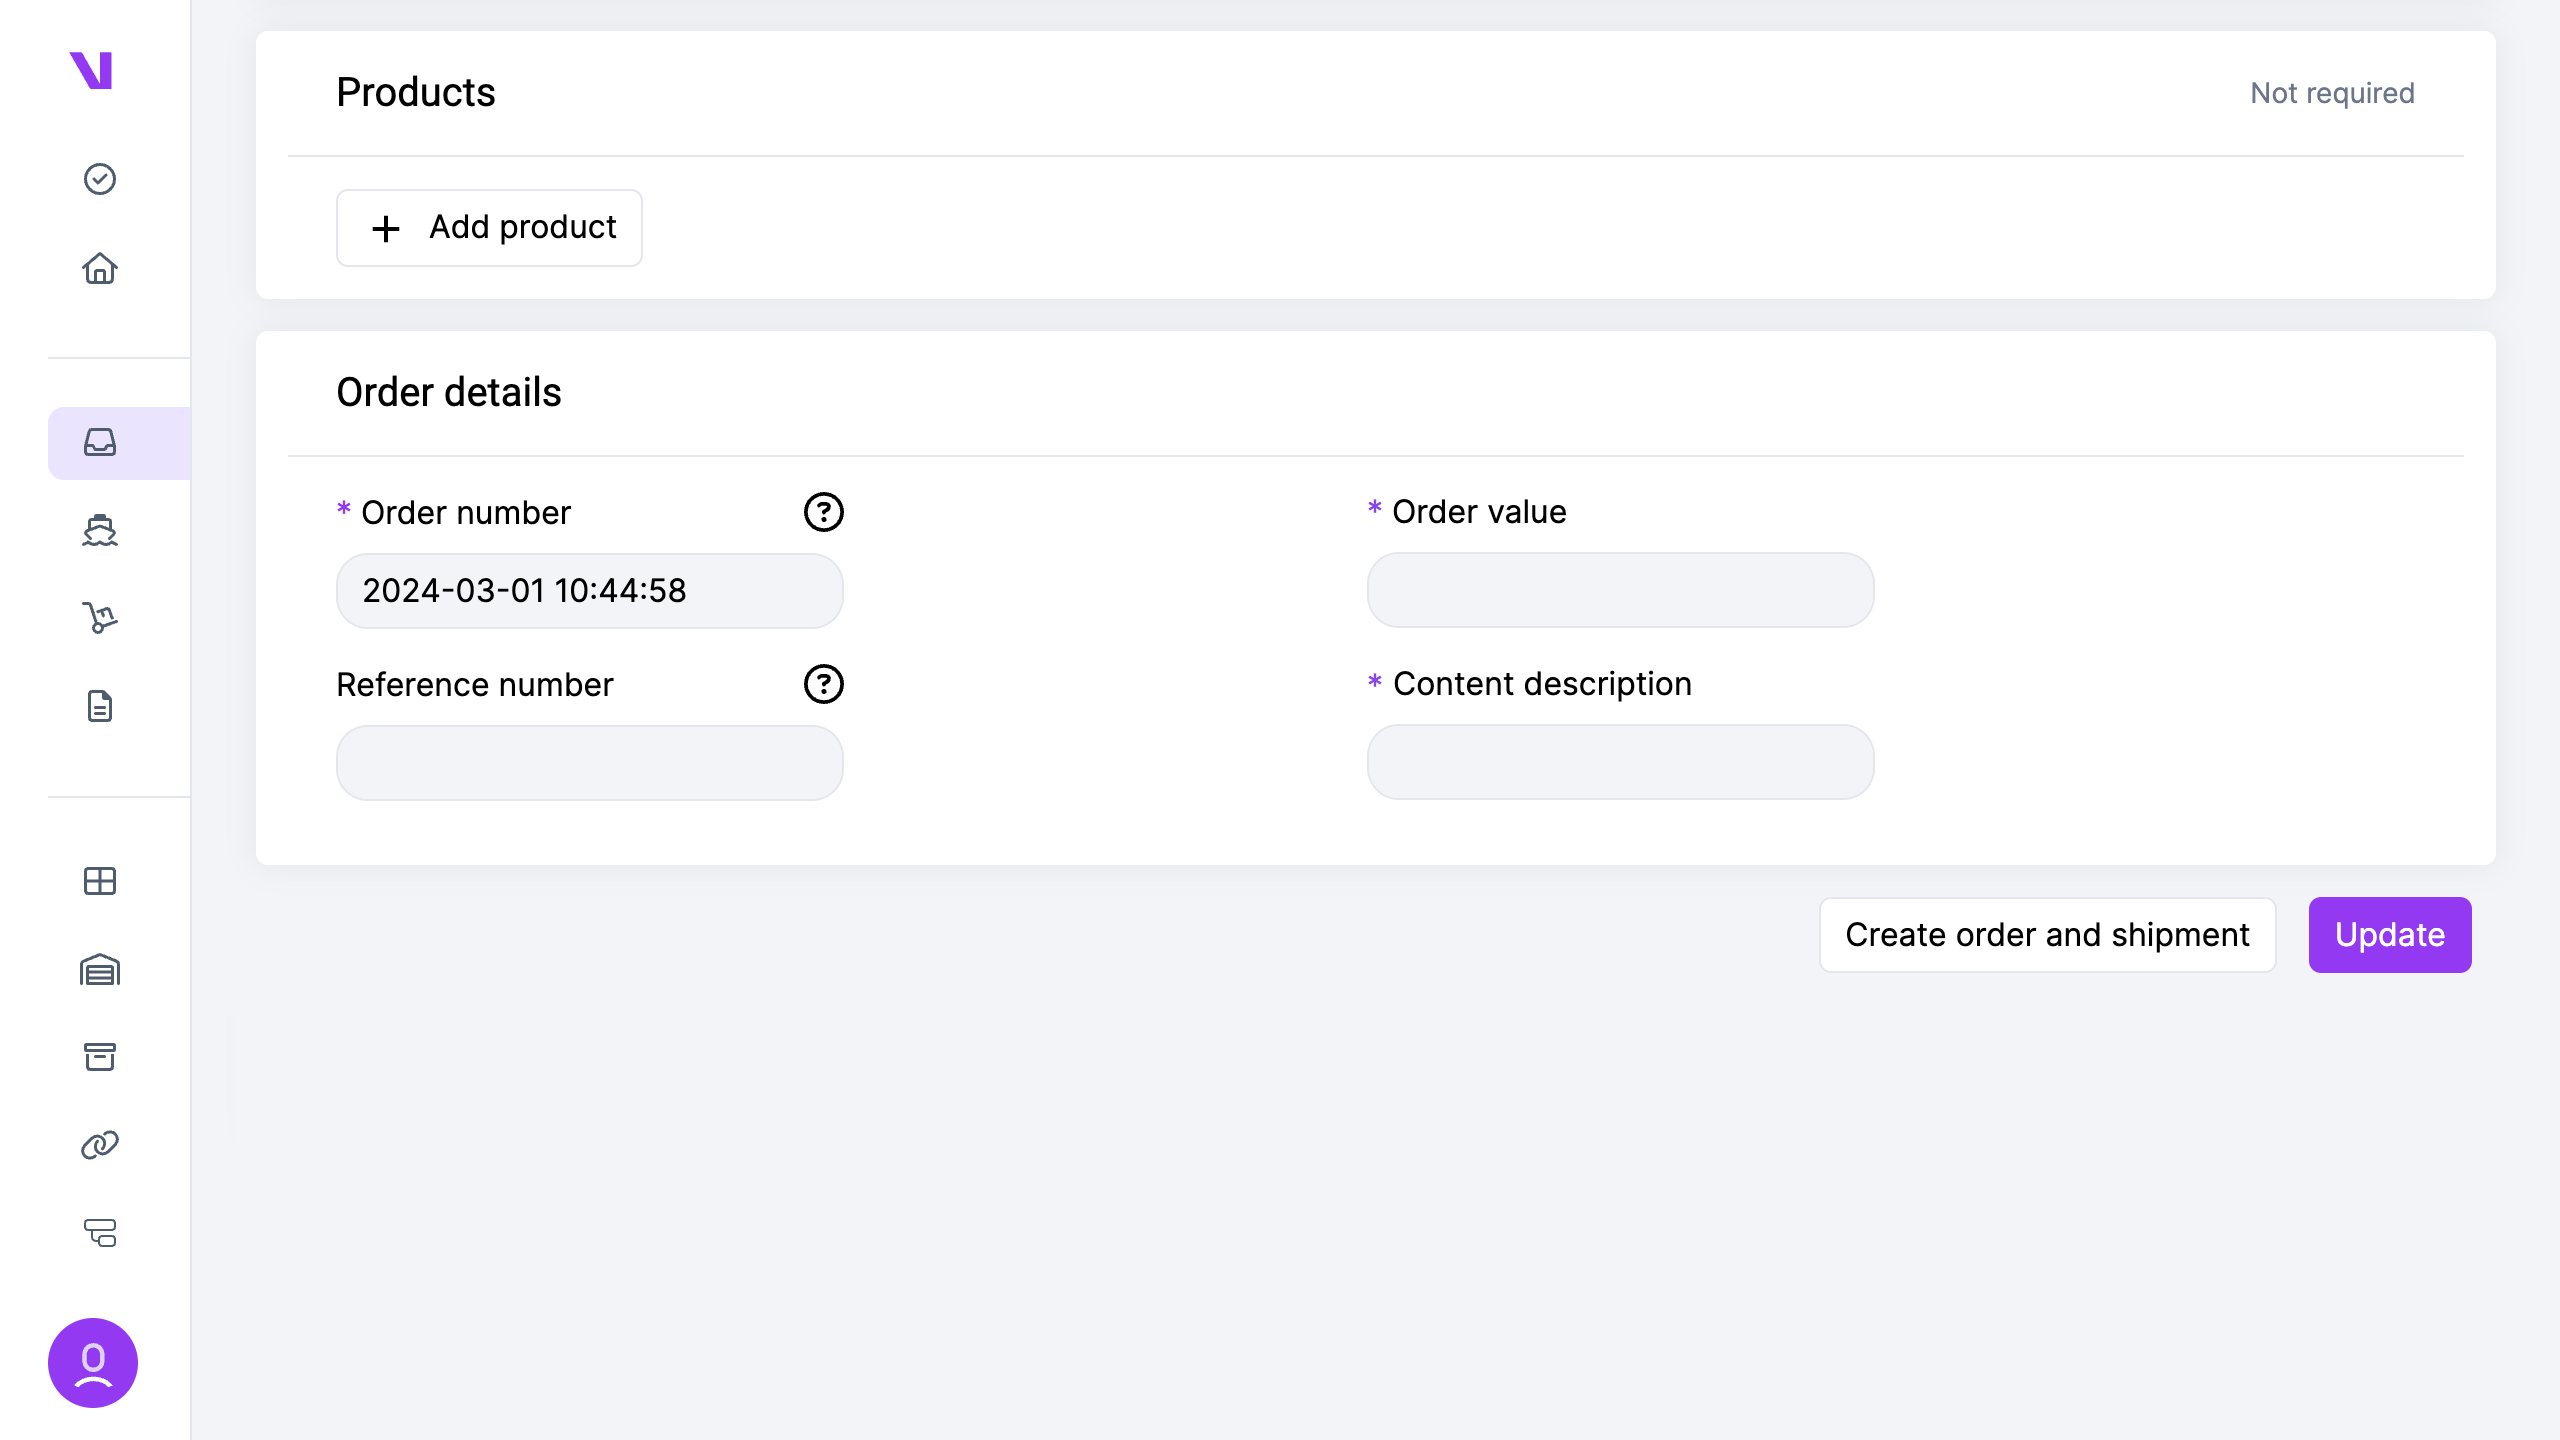
- Optionally, specify the products to be included in the order. For international shipments, this step is mandatory.
- Provide order details. “Order number” serves as a order identifier within the system. “Reference number” is an optional secondary identifier, possibly displayed on certain courier labels. For international shipments, “content description” and “order value” are essential for customs clearance.
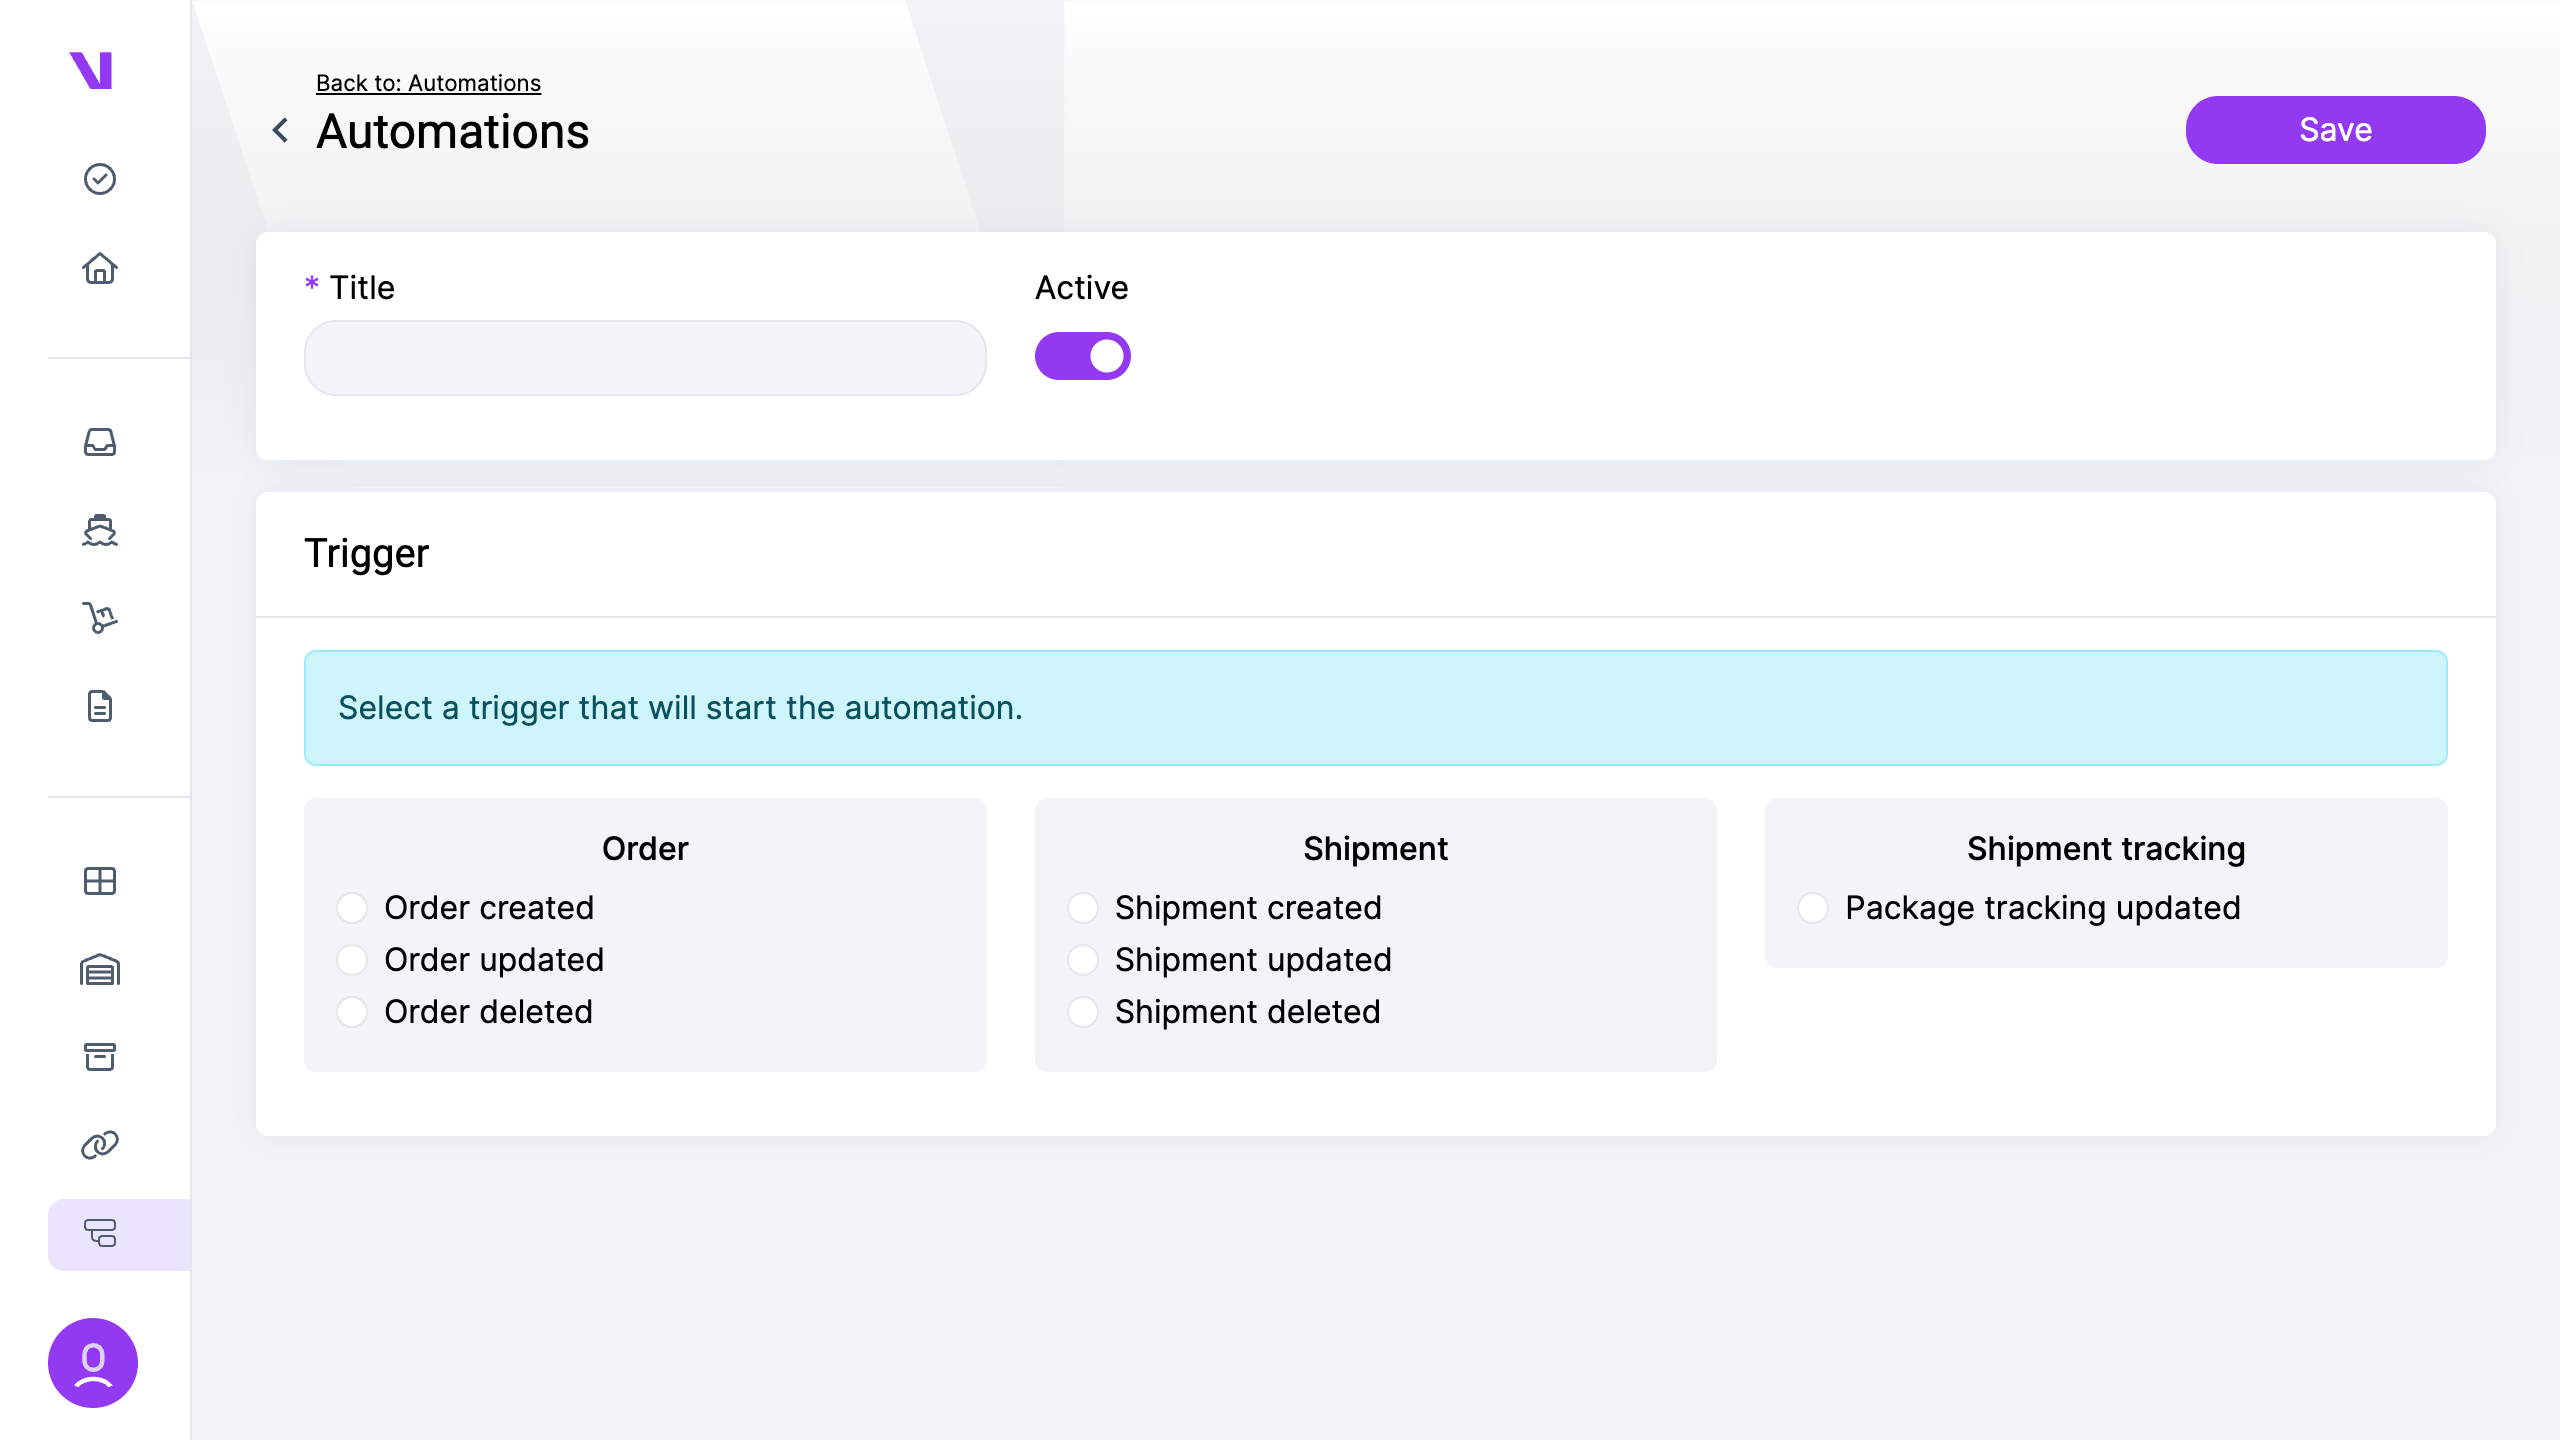
Automations are crafted to streamline manual tasks and empower the system to handle complex operations seamlessly.
Each automation must begin with a trigger, and currently, the available trigger types are:
- Order created
- Order updated
- Order deleted
- Shipment created
- Shipment updated
- Shipment deleted
- Package tracking updated
After selecting the trigger, you can refine the automation by adding specific conditions tailored to your needs. The available conditions include:
- Integration
- Shipping method
- Payment method
- Order status
- Delivery country
- Selected courier
Finally, you define the tasks, which are the actions the automation will execute. For order-related triggers, tasks may include:
- Change order status
- Set courier
- Send to fulfillment
- Send webhook
- Create shipment
For shipment-related triggers, tasks could involve:
- Change order status
- Send to fulfillment
- Send webhook
- Call courier pickup
And for shipment tracking triggers:
- Change order status
- Send webhook
By leveraging automations, you can streamline workflows, improve efficiency, and reduce manual effort across various aspects of your operations.
Each courier integration requires the user to get the appropriate credentials from their manager.
These are the list of each courier and the fields required by the integration:
- Bring: UID/Key/Customer number
- Lithuanian Post/LP Express: Username/Password
- Jet Express: Username/Password/Office ID
- Geodis: Shipped ID/Password
- Omniva: Username/Password
- GLS: Username/Password/Tracking Username/Tracking Password
- ParcelStars: API Key/Department code
- FedEx: Key/Password/Account number/Meter number
- DPD Baltics: Username/Password
- Itella: Username/Password/Contract ID
- Posti: Username/Password/Contract ID
- TNT: Username/Password
- InPost: API Key/Organization ID
- Deutsche Post: Consumer Key/Consumer Secret/Customer Number
- UPS: Username/Password/Client ID/Account Number
- Latvian Post Express: Api Key
- DHL Express: Username/Password/Accout Number
- Swiat: Username/Password
- Omniva international: Api Key
Ongoing warehouse: URL/Username/Password/Goods Owner Name/Goods Owner ID